
|
This information is provided as guidance Only. Use this information at your own risk! This site is not affiliated with General Motors or Cadillac. All trademarks are property of their respective owners. |
 |
|
This information is provided as guidance Only. Use this information at your own risk! This site is not affiliated with General Motors or Cadillac. All trademarks are property of their respective owners. |
|
Auxilary Audio Input- XM installed- Not keeping XM serviceDownload PDFIf you’re looking for a simple solution to add an Ipod to your car and you don’t subscribe to satellite radio, then this will do the trick. The directions below will describe how to add a Line level cable to your existing radio to connect to your iPod. All control is through the iPod and not the car stereo (please read the Notes below). Requirements:NOTE 1: This will disable the XM Radio. Only do this if you do not subscribe to XM. If you do, you should get an electronic switch (e.g. Neucleus, Pac Audio, USA Spec) instead. NOTE 2: Step #1 o Red = Tip = Left Channel o Black = Ring = Right Channel o Bare = Sleeve = Common 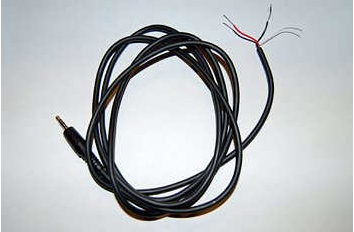
Step #2 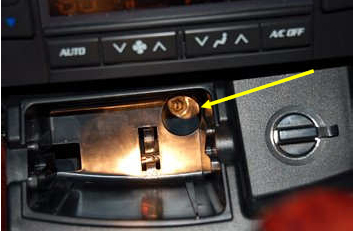
Step #3 
Step #4 
Step #5 o Left – Brown/White o Right – Dark Green/White o Common – Tan/White 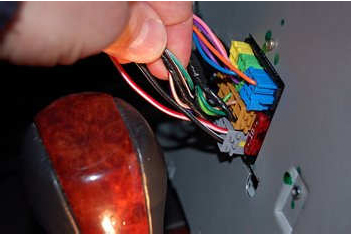
Step #6 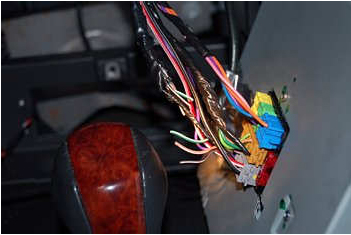
Step #7 Channel Cable Radio Left Red Brn/Wh Right Black DkGn/Wh Common Bare Tan/Wh 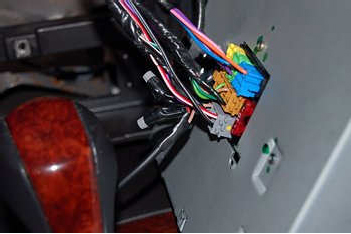
Step #8 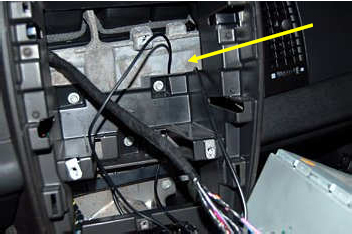
Step #9 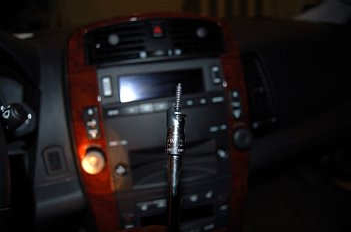 Here’s the audio cable coming out from below the ash tray and into the console. Again, I just tucked it up there and did not remove the console. 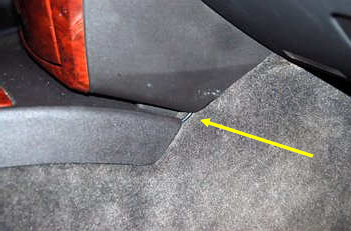 Here’s the audio cable coming out near the cup holder. 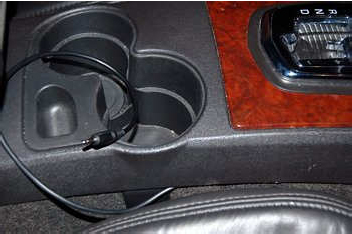 To listen to your iPod select either of the XM bands on your radio. In my car the Ipod does not get as loud as the FM radio does, however, I had the same issue with XM before I did this (I used to subscribe to XM). In fact, when I scroll between AM, FM, XM(iPod) and CD, the audio level changes with each band. |