How Do I change my own Brake pads?
Thanks Dreamin'
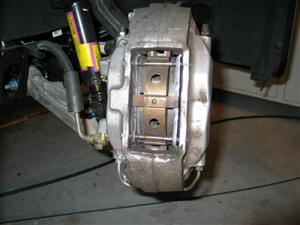
Procedures for front and rear are identical... all pictures are of the front.
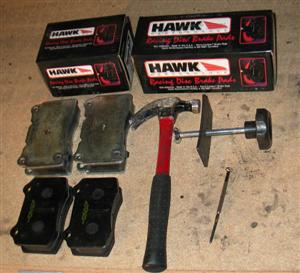
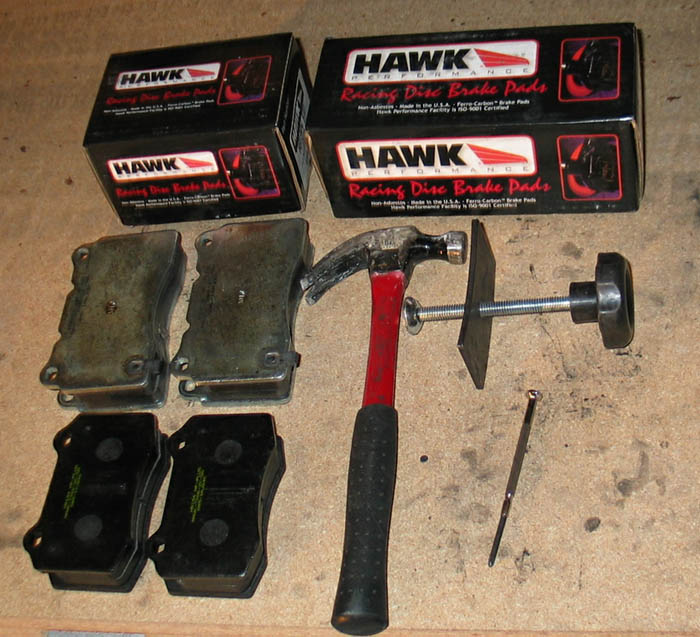
Items needed:
* Brake Pads - for list of pads and pictures Go here
* Hammer
* Punch or small screwdriver
* Some kind of brake tool to push the brake pistons back in. The one in the pic is from Pep Boys or Kragen... nowhere fancy.
UPDATE It is recommended by some that you turn the rotors when you change the brake pads as well. To do this you need to remove the caliper and rotor. The torque specs for the caliper to knucle bolts are: 96 ft lbs.(front) 88 ft lbs (rear)- Rotor mounting screw is 124 LB in (you must convert this to ft lbs if using a standard torque wrench)
Pic shows Hawk pads, i ended up installing PFC 01s.
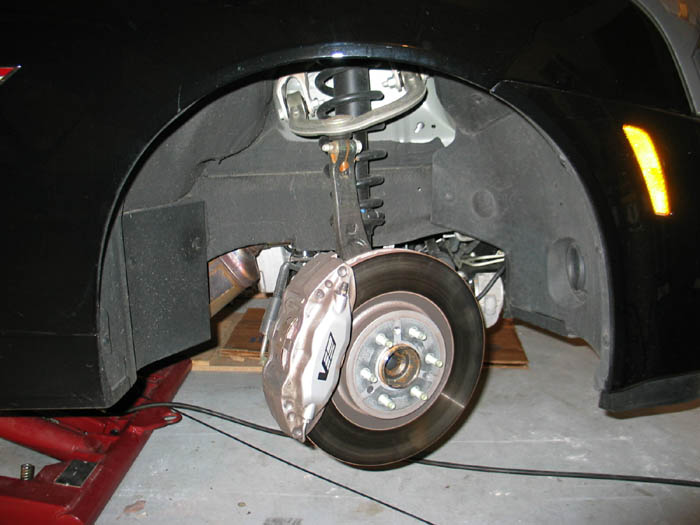
Step 1
Raise car, support safely, remove wheels.
For the front, turning the steering wheel makes it easier to access the pads.

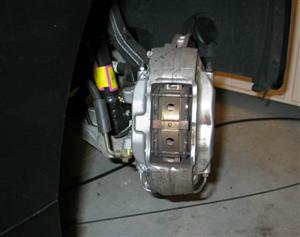
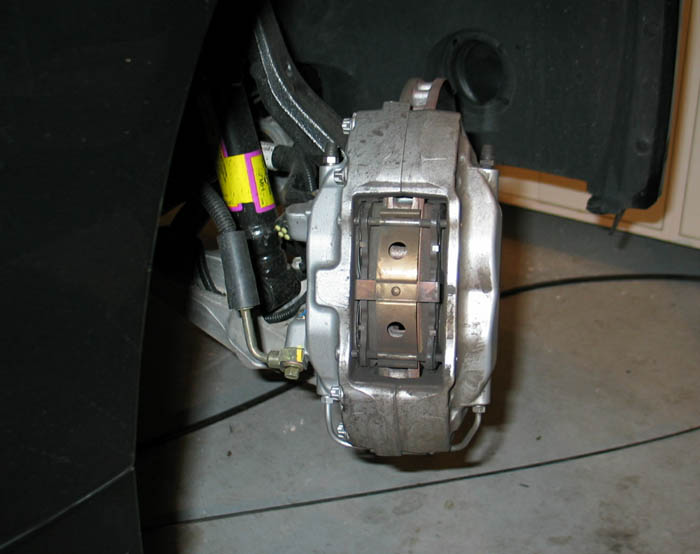
Step 2
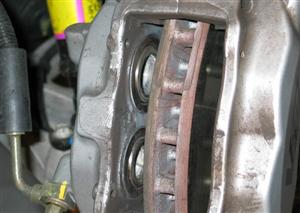
Use hammer and punch or small screwdriver to tap lower brake pad pin inward. Pushing the lower end of the retainer clip in makes removing the pin easier.

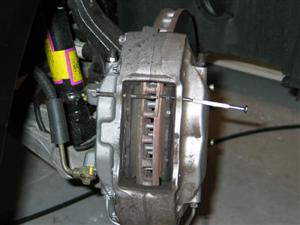
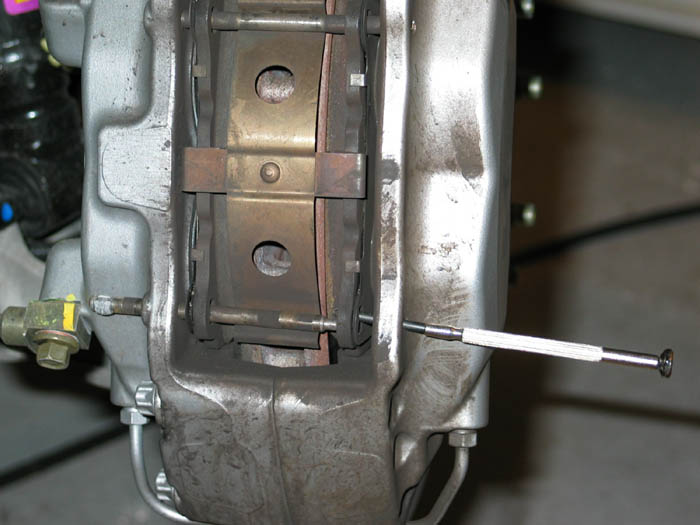
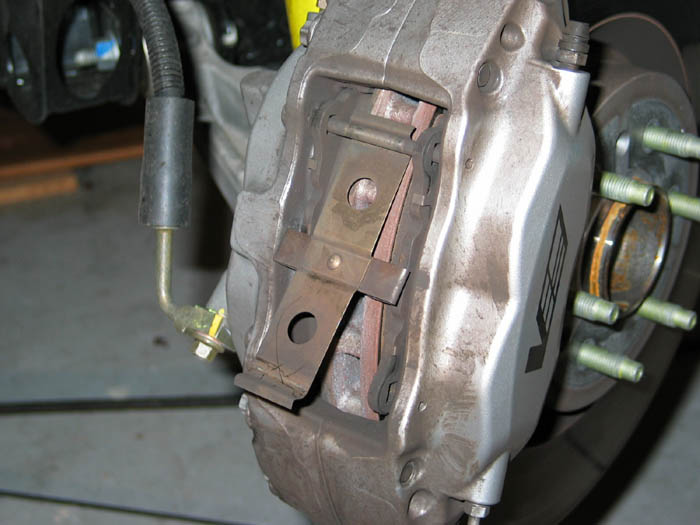
Step 3
Lift and remove metallic retainer clip
Use Hammer and punch or small screwdriver to tap upper brake pad pin inward.

Step 4
*Partially* pull/slide out one of the pads... finger pressure should be enough, push on the 'inside' of the pad, pull on the 'outside'. If fingers dont work, gently use pliers, or something to 'torque' the pads out.
Do not pull the pad out completely yet...
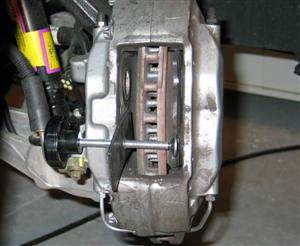
Step 5
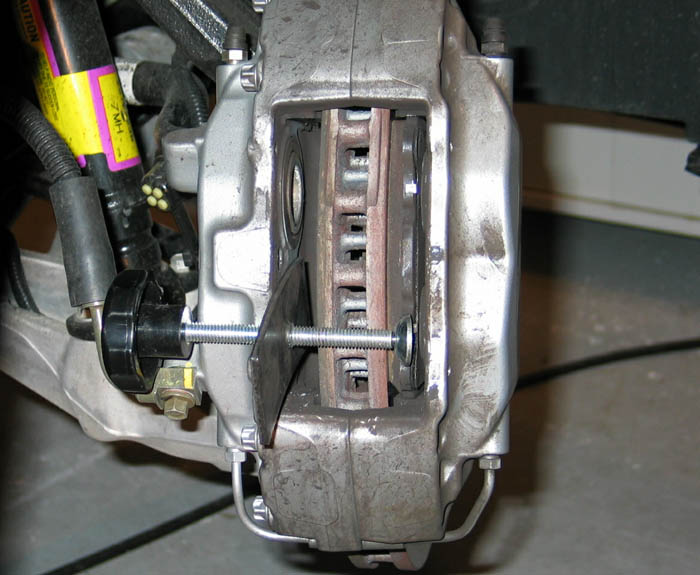
Use the brake tool against the partially removed pad to push the pistons back in. As with any 2/4 piston design, pressure much or applied to both pistons at the same time, otherwise the 'other' piston comes out. The pistons push back in fairly easily, i did not loosed the bleeder screw (which means you must bleed the brakes after pad change).
Once pistons are all the way retracted, remove pad.
Repeat on the other side pad/pistons.
NOTE: For this step, the service manual says "Carefully insert a plastic flat-bladed trim tool between the rotor and brake pad... apply pressure to the brake pad until pistons are fully compressed." I dont know what a plastic flat-bladed trim tool is, but dont know how a plastic tool will exert enough pressure to compress the pistons. The caliper tool pictured is used against the brake pads, not between the rotor and pad.
Step 6
If street pads are being installed, and they dont have backing plates, use the plates from the stock pads.
Step 7
Slide in new pads.
If the pistons are completely in, this will be very easy. If not, push pistons in completely.
Step 8
Re-insert and hammer in top pin.
Re-insert clip
Re-insert and hammer in bottom pin.
Step 9
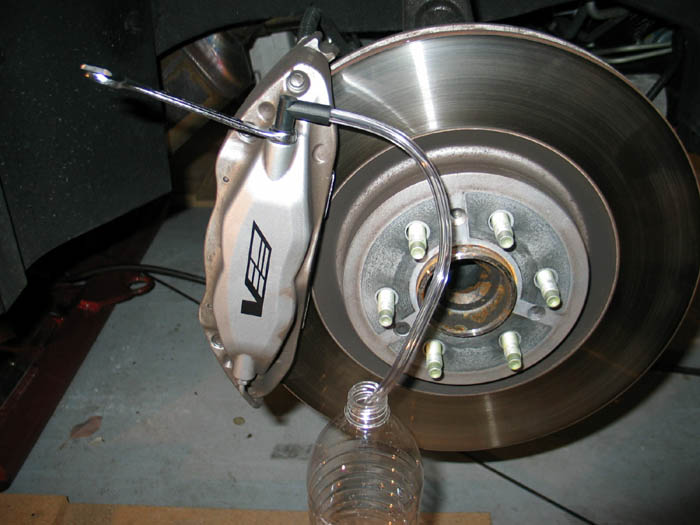
Brake bleed procedures: Stoptech Brake Bleed Instructions and Definition
You'll need an 11mm box-wrench and DOT3 compatible fluid... I used Motul 600 race fluid.

Bleed order:
* Right rear inner
* Right rear outer
* Left front inner
* Left front outer
* Left rear inner
* Left rear outer
* Right front inner
* Right front outer
(Eight bleeder screws on a GM product... unbelievable! )
Step 10
Street brake pad bedding-in procedures: http://www.baer.com/Support/TechTips.aspx?TechTipID=5
Race brake pad bedding-in procedures: http://www.baer.com/Support/TechTips.aspx?TechTipID=7
Step 11
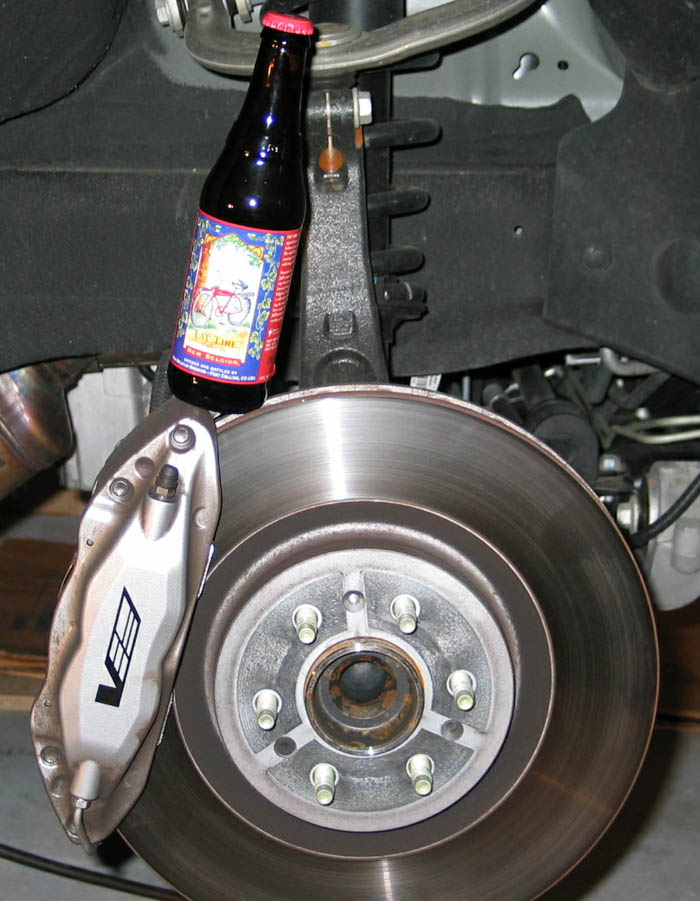
That's it... you're done!
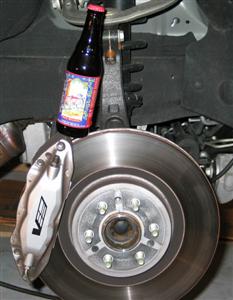
Urbanski would now want you to enjoy one of these
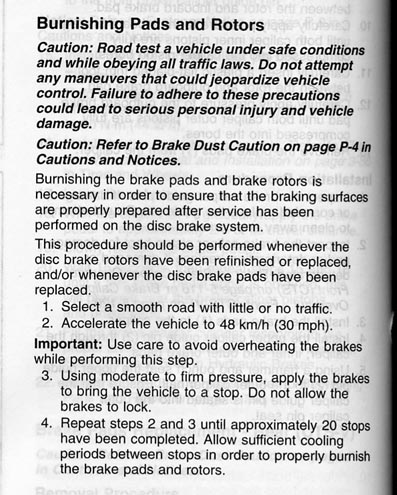
UPDATE
The GM service manual also recommends that you "burnish" the brakes once installed. The procedure for that is here
|


