How do I install headers on the V?
Use this as a pictorial reference only; always refer to the official B&B instructions and GM service manual for more detail or clarification.
For more information, please visit B&B Performance Exhaust
Installation time: Approximately four to eight hours depending on interruptions by the kids, running out of beer or the "helpful" friend stopping by to watch, drink all your beer and just generally stand around.
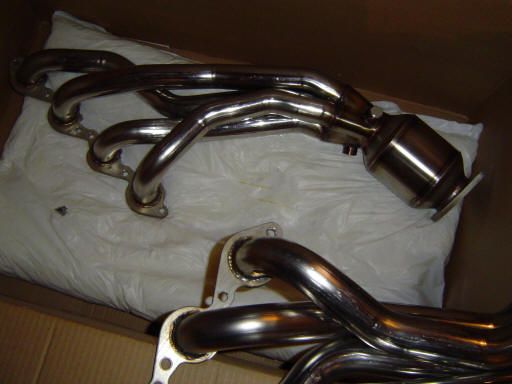
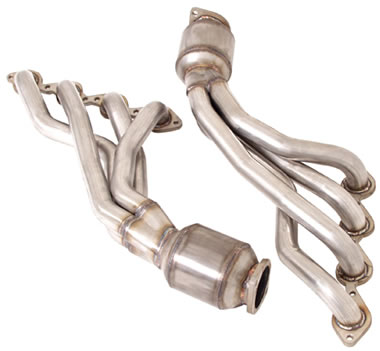
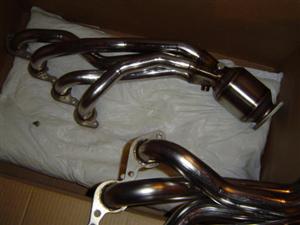
1. Open up the B&B box and admire the beauty of stainless steel!
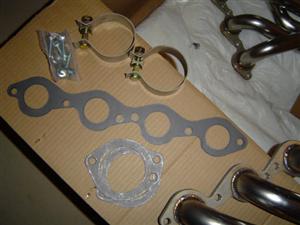
 2. Compare your hardware included with the kit to the bill of materials on the B&B installation drawing.
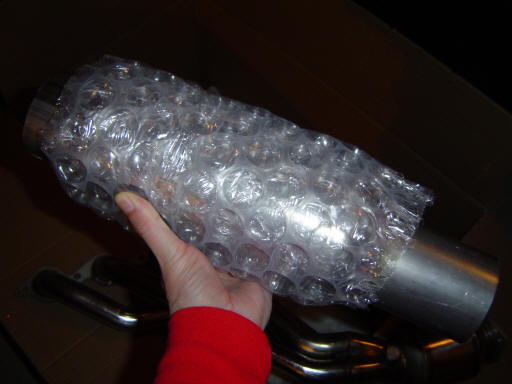
 3. Small, post-cat mufflers...(not used in this installation).
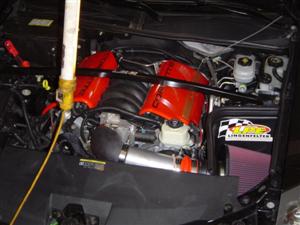
 4. Let the fun begin!
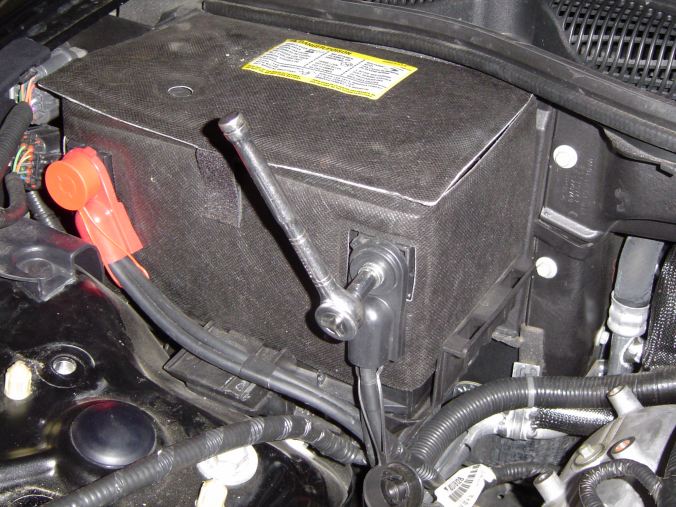
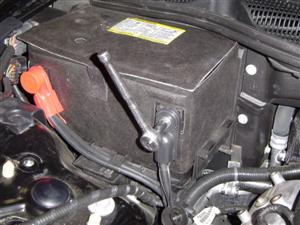
 5. Disconnect the negative/ground/earth cable of the battery.
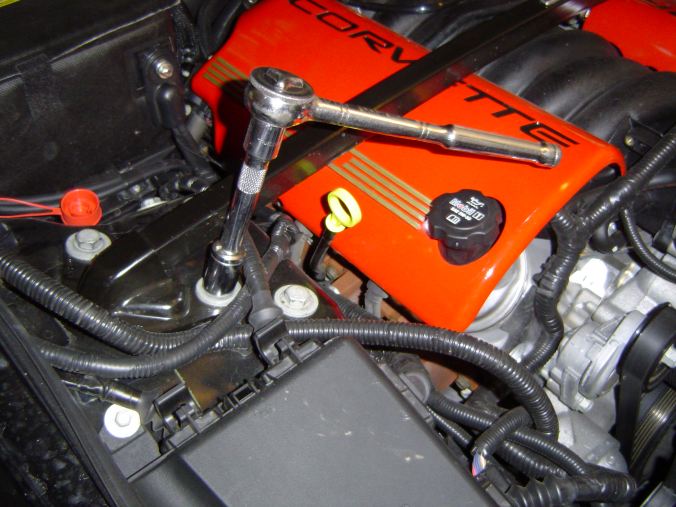
 6. Remove the four strut tower brace bolts.
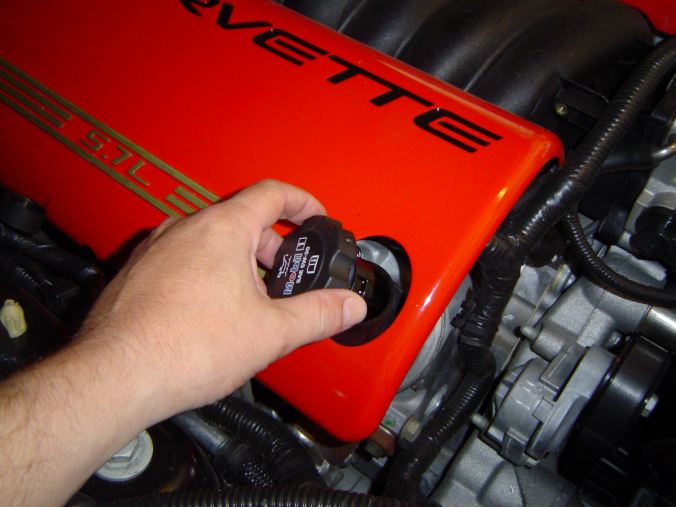
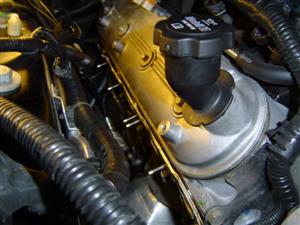
 7. Remove the oil fill cap.
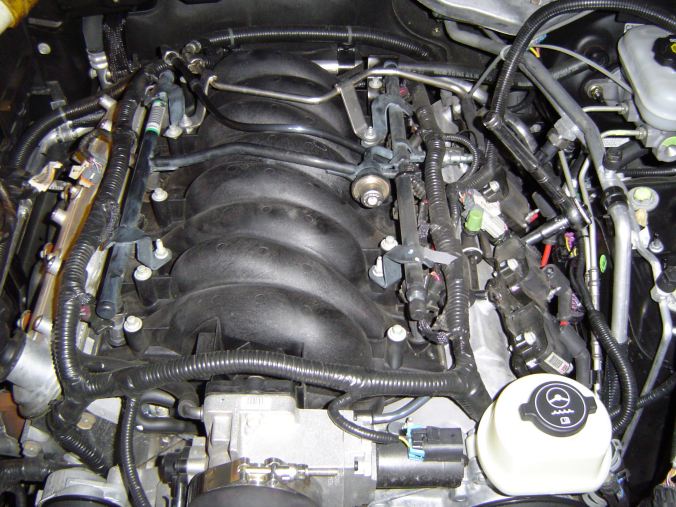
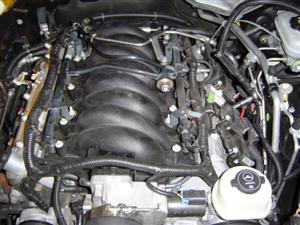
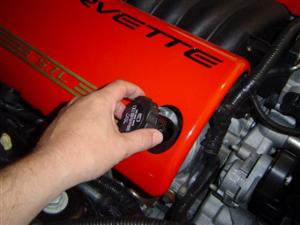 7b. Remove the engine cover(s) and reinstall the oil fill cap.
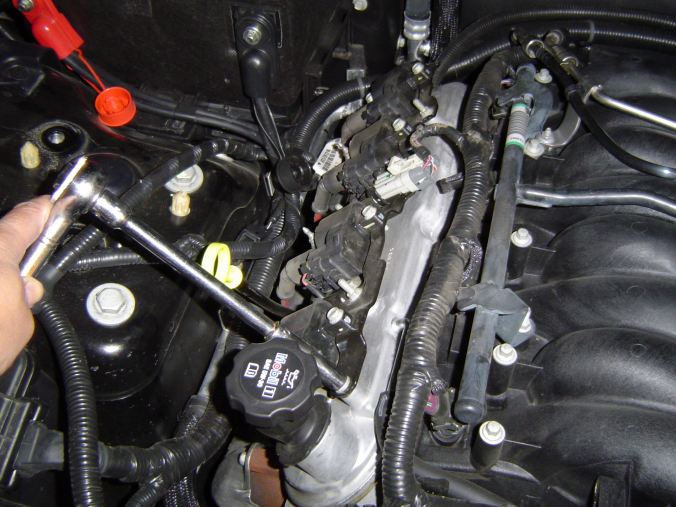
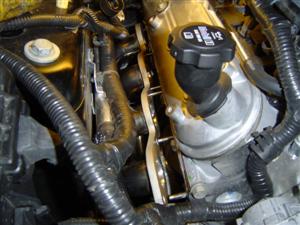
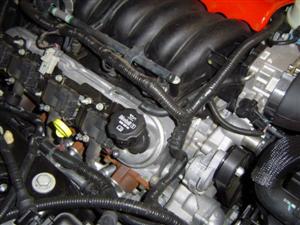 8. Remove the studs holding the coil pack bracket to the aluminum valve covers.
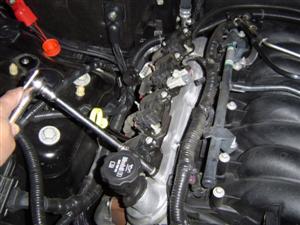 9. Disconnect the spark plug wires from the coils.
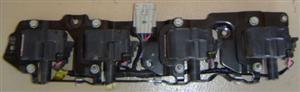
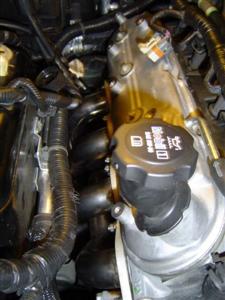
 10. Disconnect the coil pack's main electrical connector and remove the coil pack bracket.
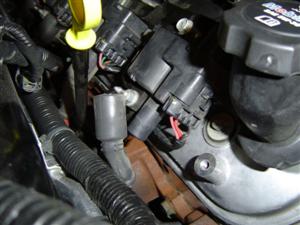
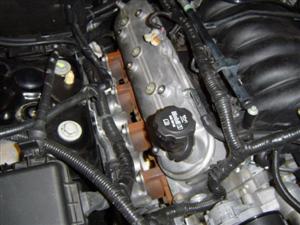
 11. Right hand coils, bracket and main electrical connector (gray connector).
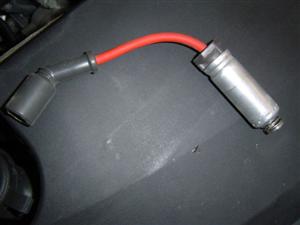
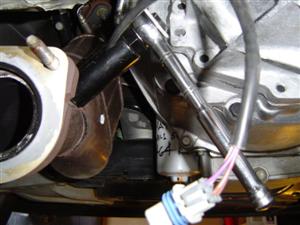
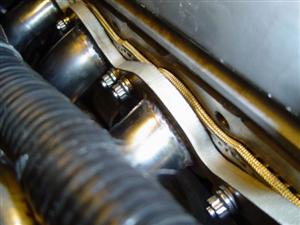
 12. Spark plug wire and aluminum shield.
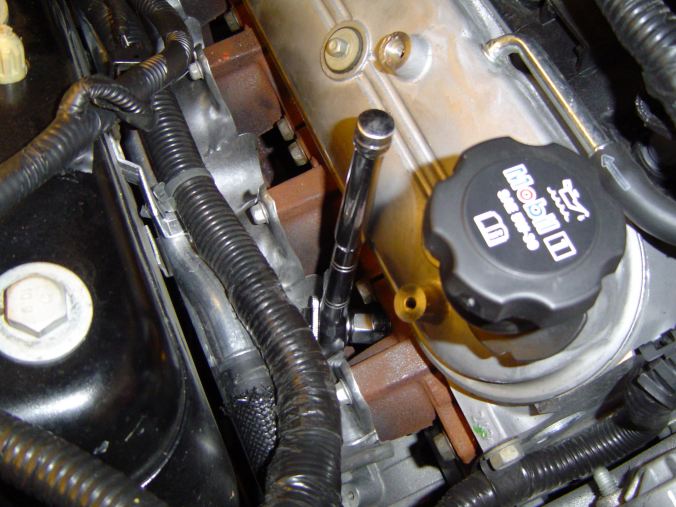
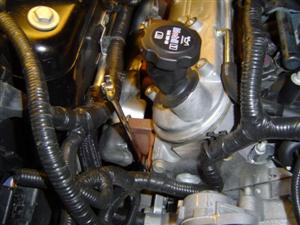
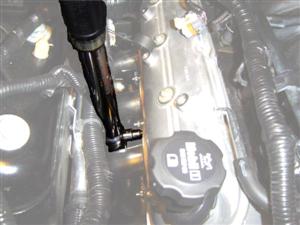
 13. Remove the engine oil dipstick retaining bolt. Then gently pull up on the dipstick housing to remove.
 14. RH side is done; time for the LH side...
 15. Disconnect the coil pack's main electrical connector.
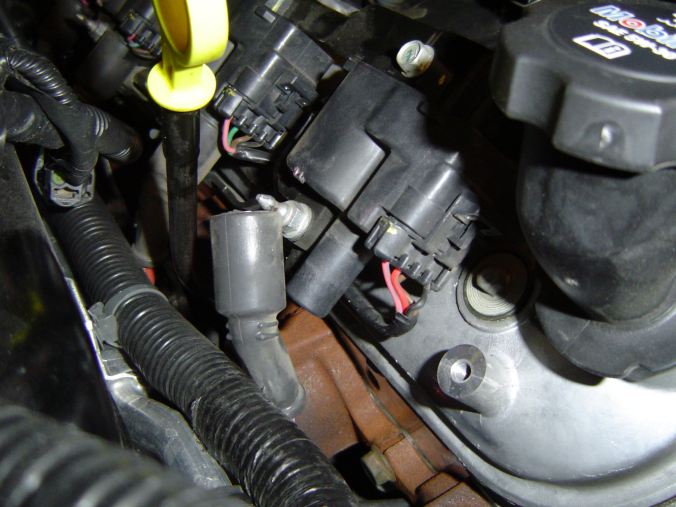
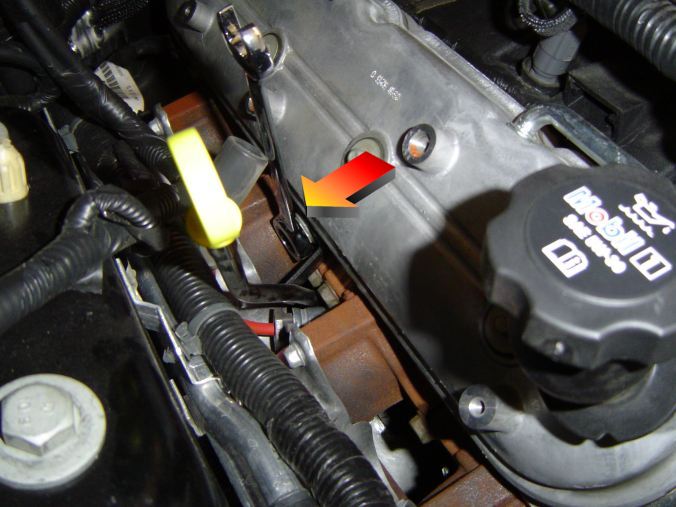
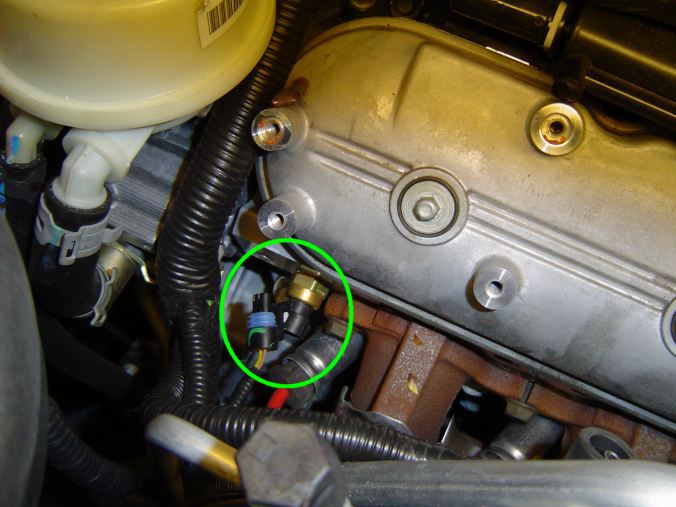
 16. Disconnect the engine coolant temperature (ECT) sensor.
 17. Remove the coil pack bracket studs, disengage the spark plug wires and remove the coil pack bracket.
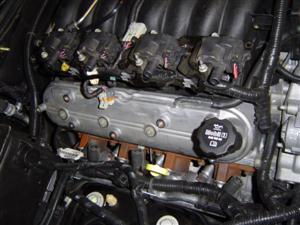
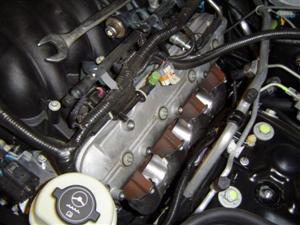
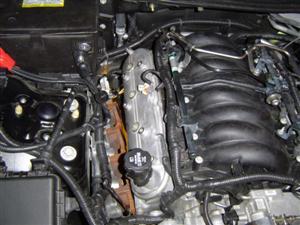
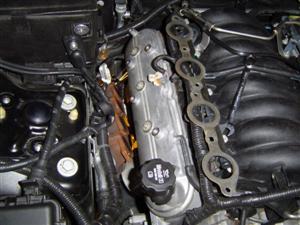
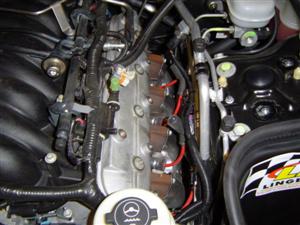 18. RH side of the engine with coil packs removed.
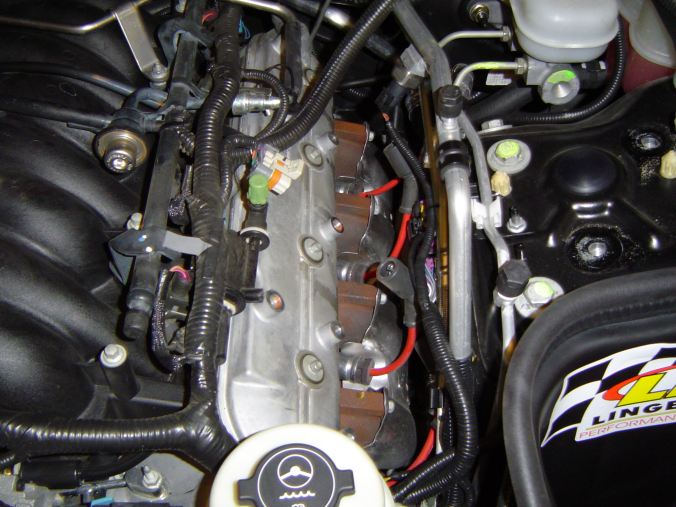
 19. LH side of the engine with coil packs removed.
 20. Remove the spark plugs.
 21. Loosen the exhaust manifold bolts.
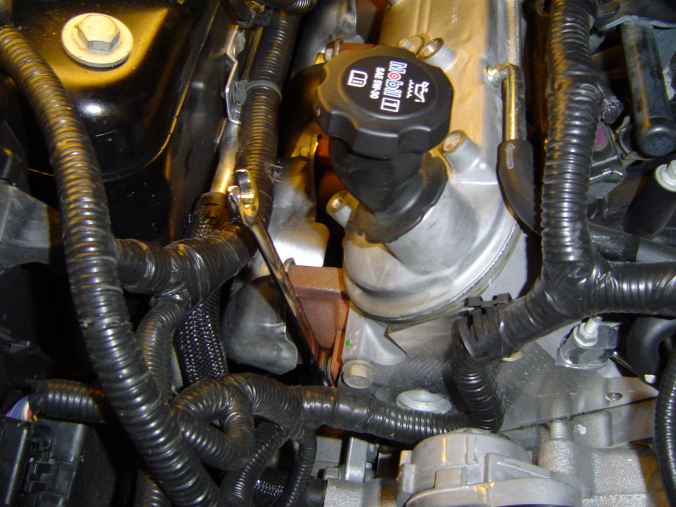
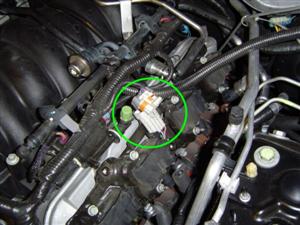
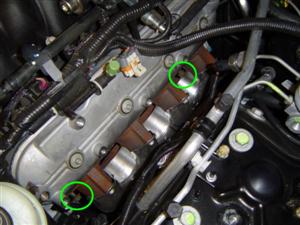
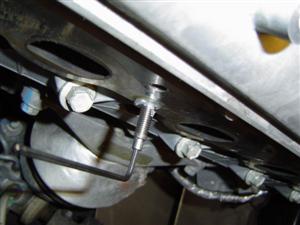
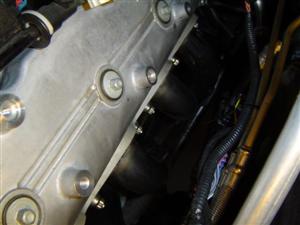
 22. On both the RH and LH side of the engine, loosen but do not completely remove the bolts circled in green.
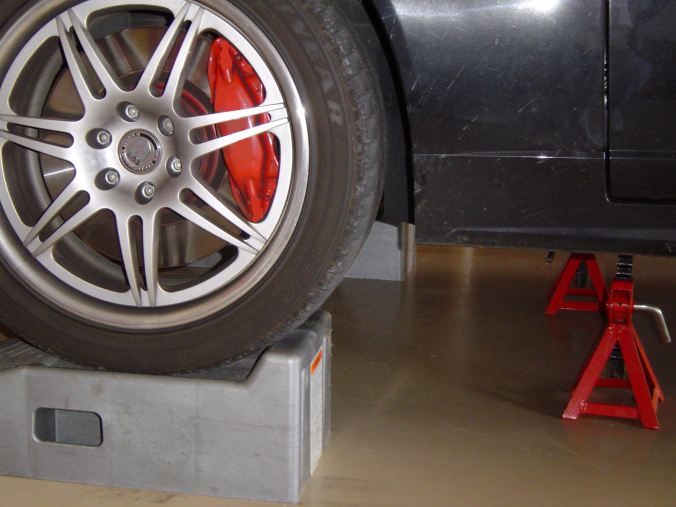
 23. Safely raise and support the front and/or rear of the V.
 24. If one has a B&B exhaust, remove the two center hangers.
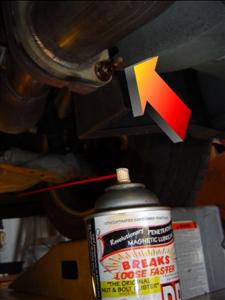
 25. Spray penetrating oil on the cat-back to stock manifold studs.
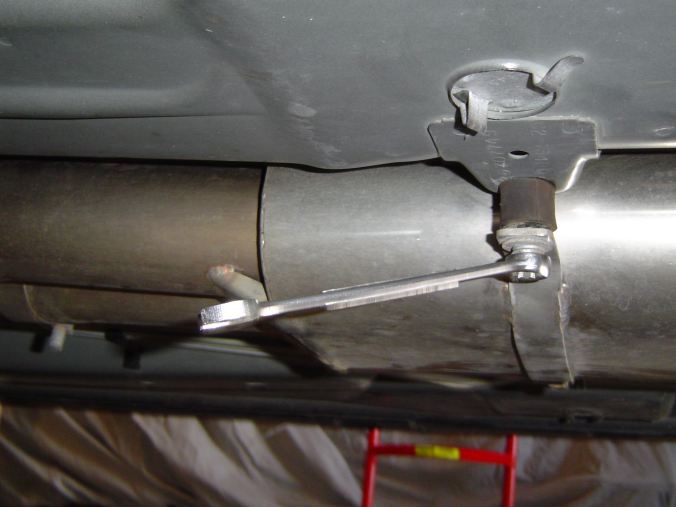
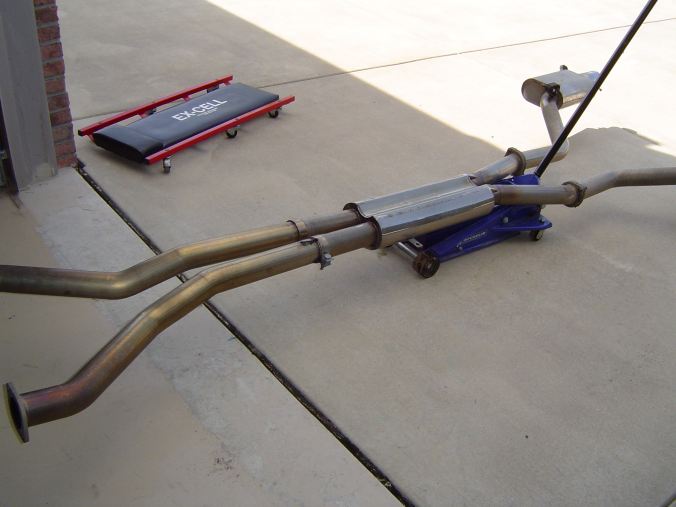
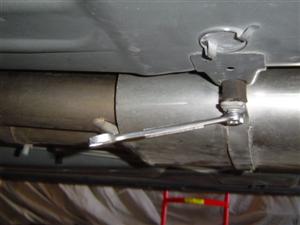
 26. Place a floor jack under the middle of the exhaust and disconnect the exhaust at the front joint. Pry the six rubber exhaust hangers at the rear of the car off their mounting points. Lower the floor jack and roll the exhaust out from underneath the vehicle.
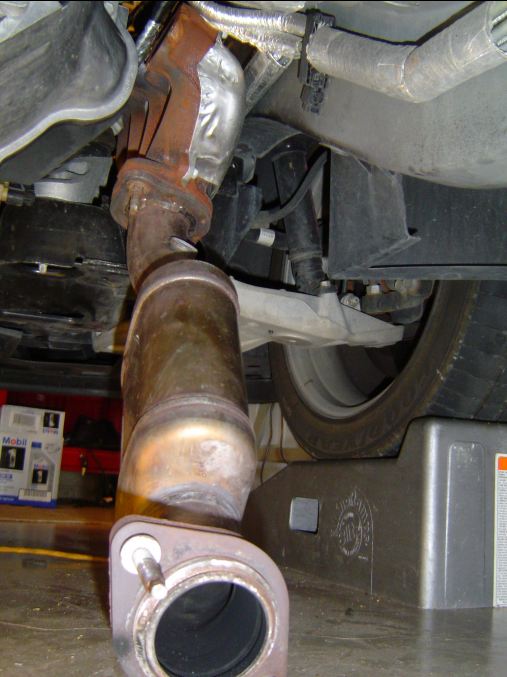
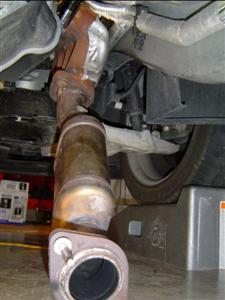
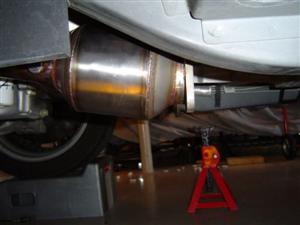
 27. Cat-back exhaust removed...now one can see the converter honeycomb inside the stock exhaust.
 28. Double check your !CAGS Eliminator as long as you are there!
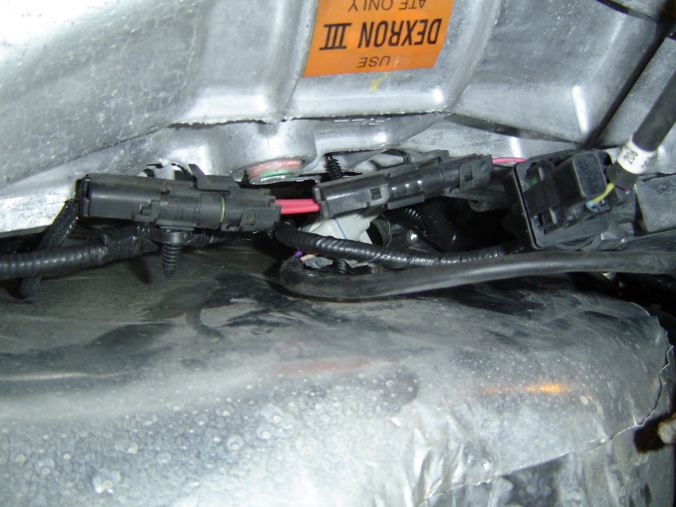
 29. Disconnect the four O2 sensors' wire harnesses.
 30. Using a special O2 sensor socket, remove the four O2 sensors. There is an O2 sensor before and after the factory catalytic converters on each side.
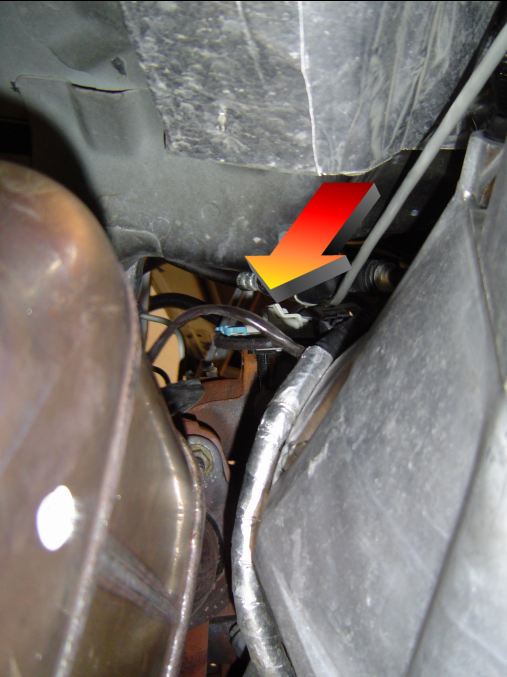
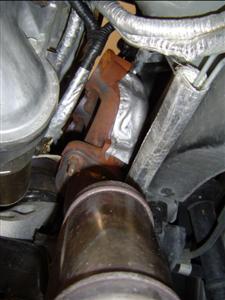
 31. Now remove the two exhaust manifold bolts left in step 22. RH side shown.
 32. LH side shown.
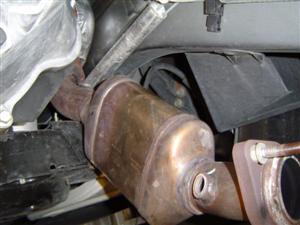
 33. RH side stock converter with O2 sensors removed.
 34. RH exhaust manifold shown with the two bolts removed.
 35. Remove the stock exhaust manifold gasket.
 36. Lower the stock exhaust manifold and converter assembly from the vehicle.
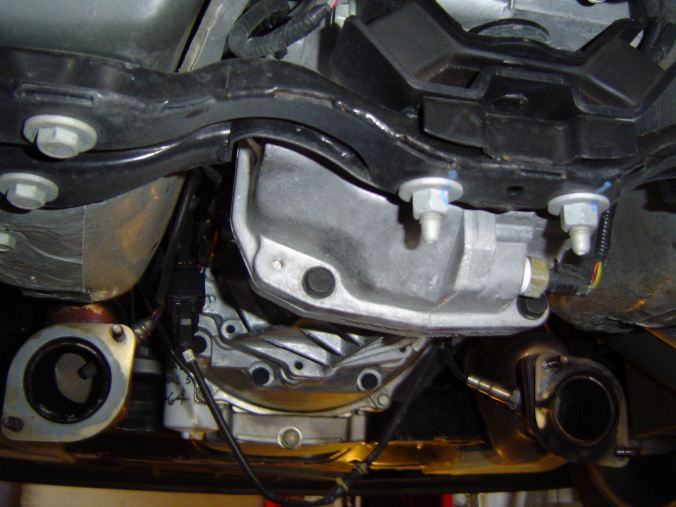
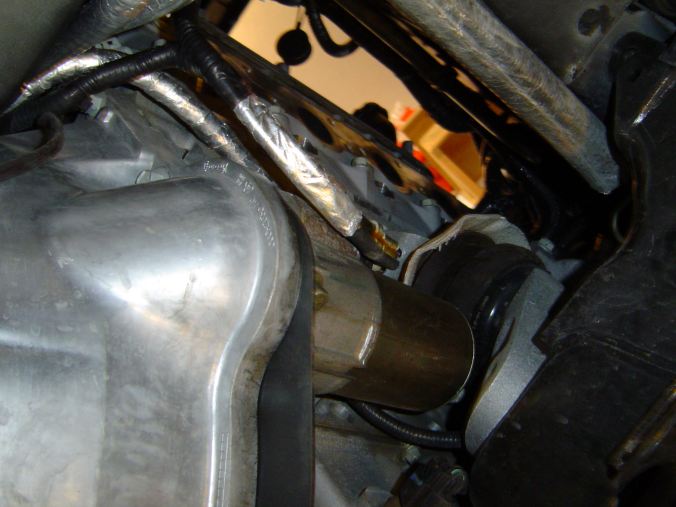
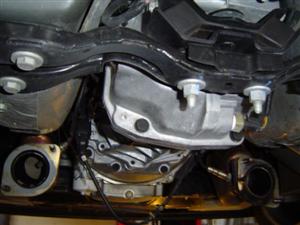
 37. RH side of the engine showing the exhaust ports, starter and engine mounts.
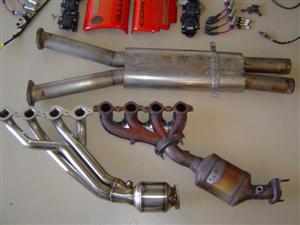
 38. Comparison of B&B Tri-Y header w/ 5" converters to RH stock assembly. B&B resonator also shown removed due in lieu of a B&B X-pipe.
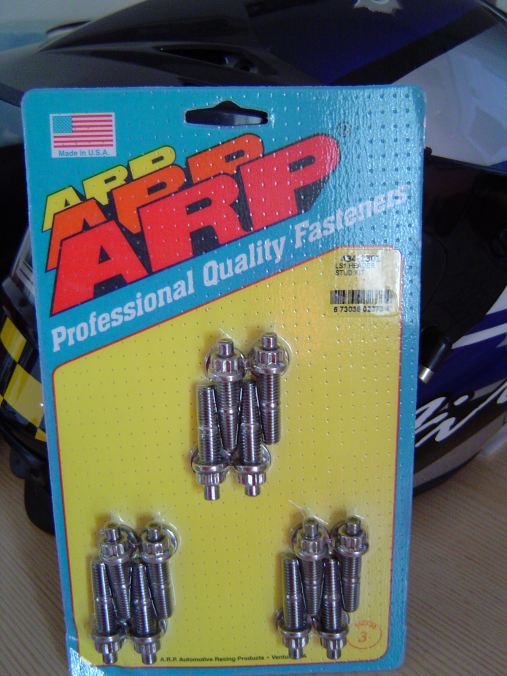
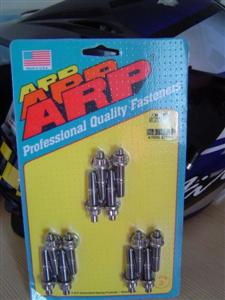
 39. ARP stainless steel exhaust header studs were used, part number 434-1301.
 40. Anti-seize compound and a metric hex-allen wrench are required for installation of the studs.
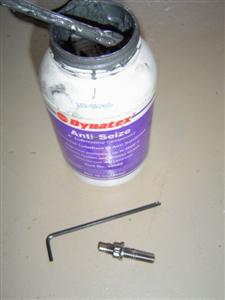 41. Coat the threads of the stud with anti-seize, thread them into the heads by head and then tighten with the allen wrench. After the stud is tight, wipe away any residual anti-seize compound.
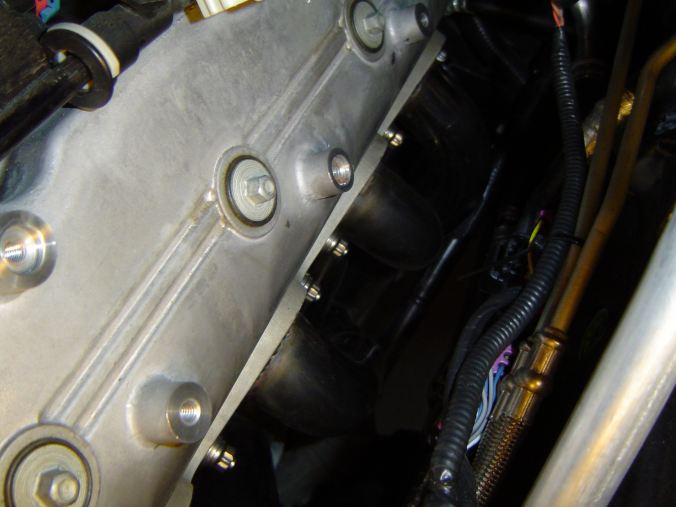
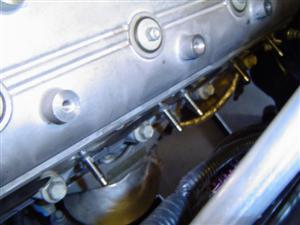
 42. LH side of the engine shown with all the studs installed.
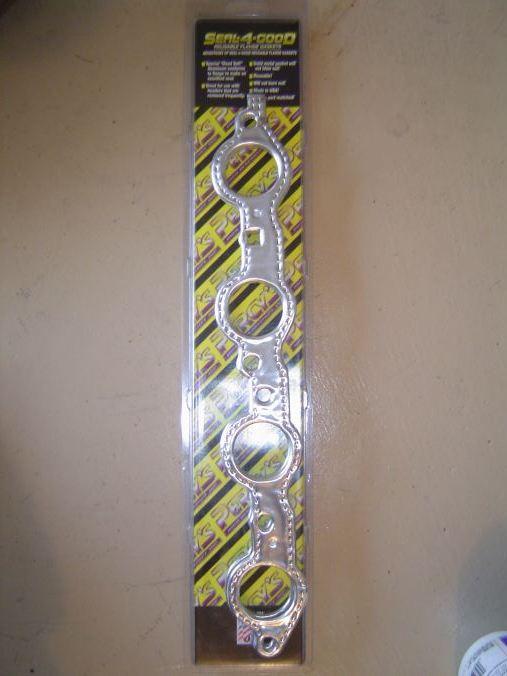
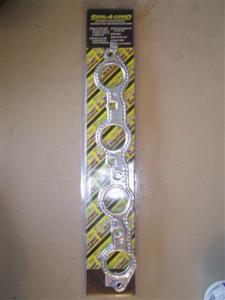
 43. Percy's Seal4Good dead-soft aluminum exhaust manifold/header gaskets were used, part number 66032.
 44. Install the new manifold gaskets over the studs.
 45. From underneath, slide the header up into place and "hook" the header on the studs.
 46. Place the stainless flat washers onto the studs and hand thread the 12-point nuts.
 47. Studs shown with the 12-point nuts and flat washers.
 48. Repeat for the LH side.
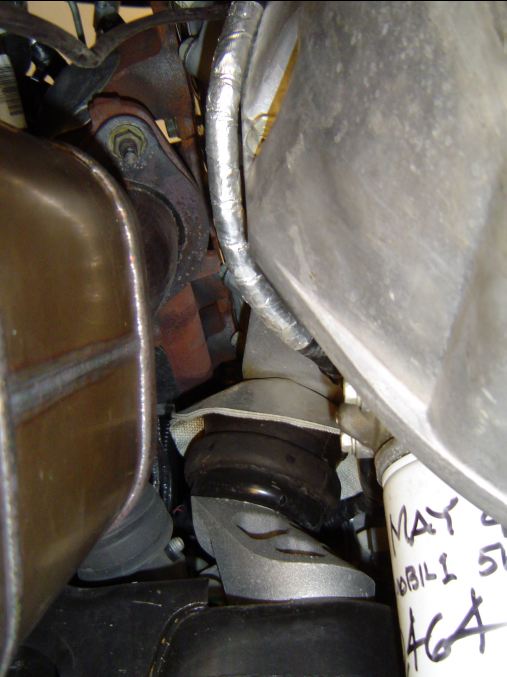
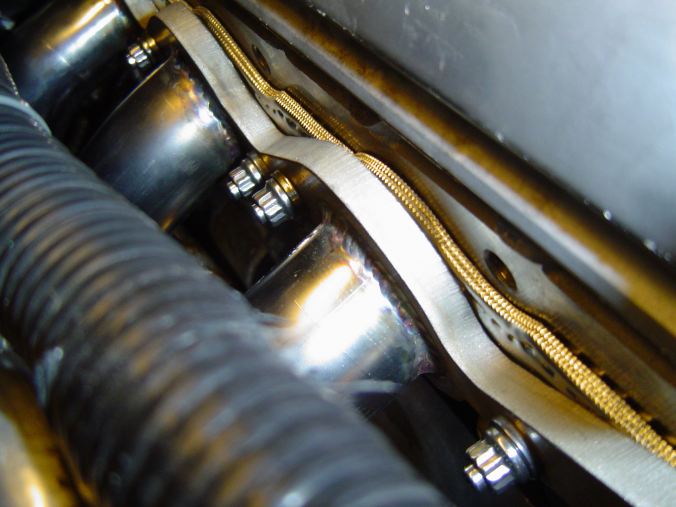
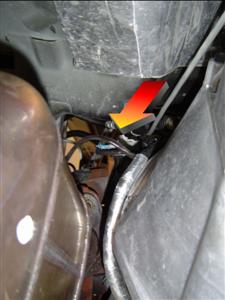
 49. Header to steering linkage clearance...
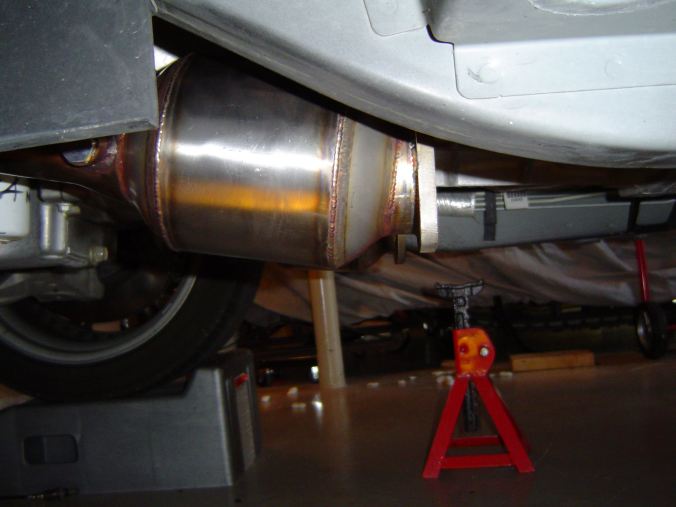
 50. B&B 5" converters...
 51A. Starting at the center two studs, torque the nuts to 10 ft-lbs. Work outwards alternating between front and rear studs until all the studs are 1st pass torqued. Check the torque again with a second pass, starting at the center two studs again.
 51B. Repeat this process again at 15 ft-lbs until all studs are evenly torqued.
52. Coat the spark plug threads with anti-seize, hand start them into the heads and then torque to 11 ft-lbs.
51B. Repeat this process again at 15 ft-lbs until all studs are evenly torqued.
52. Coat the spark plug threads with anti-seize, hand start them into the heads and then torque to 11 ft-lbs.
 53. Use anti-seize on the four O2 sensors, thread them into the headers by hand and then tighten to 30 ft-lbs.
54. Reinstall the cat-back exhaust.
55. Lower the V from the ramps/jack-stands/etc.
56. Connect the spark plug wires to the spark plugs.
57. Reinstall the coil pack brackets.
58. Connect the spark plug wires to the coil packs.
59. Connect the coil pack gray electrical connector to the main harness.
60. Connect the ECT sensor.
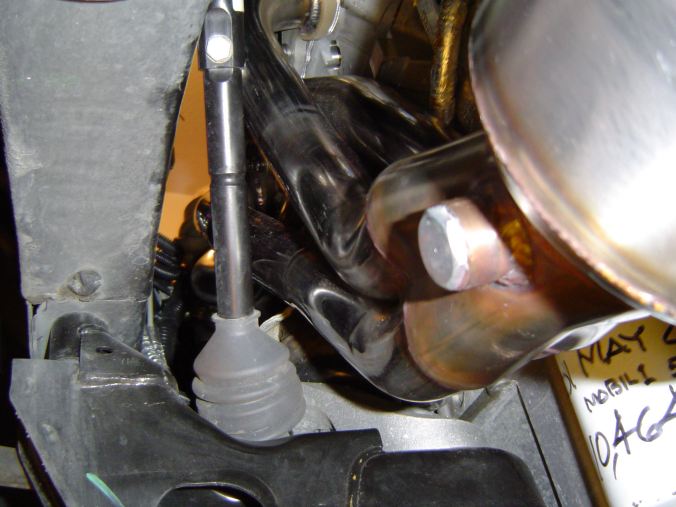
61. Install the engine oil dipstick.
62. Install the engine cover(s).
63. Install the strut tower brace.
64. Connect the battery.
65. Start the engine and let idle for several minutes to season the new system.
66. Run the engine through several heat cycles and revalidate the exhaust stud torque.
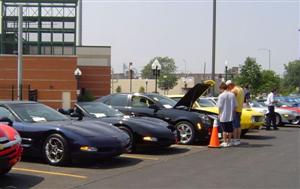
67. Take your V to a car show; it isn't everyday people see a 400 rwhp Cadillac with headers!
53. Use anti-seize on the four O2 sensors, thread them into the headers by hand and then tighten to 30 ft-lbs.
54. Reinstall the cat-back exhaust.
55. Lower the V from the ramps/jack-stands/etc.
56. Connect the spark plug wires to the spark plugs.
57. Reinstall the coil pack brackets.
58. Connect the spark plug wires to the coil packs.
59. Connect the coil pack gray electrical connector to the main harness.
60. Connect the ECT sensor.
61. Install the engine oil dipstick.
62. Install the engine cover(s).
63. Install the strut tower brace.
64. Connect the battery.
65. Start the engine and let idle for several minutes to season the new system.
66. Run the engine through several heat cycles and revalidate the exhaust stud torque.
67. Take your V to a car show; it isn't everyday people see a 400 rwhp Cadillac with headers!
THANKS! Stealthv
|