
|
This information is provided as guidance Only. Use this information at your own risk! This site is not affiliated with General Motors or Cadillac. All trademarks are property of their respective owners. |
 |
|
This information is provided as guidance Only. Use this information at your own risk! This site is not affiliated with General Motors or Cadillac. All trademarks are property of their respective owners. |
|
Modifying the FE4 (or FG2) Nivomat shocks for lowering springsThanks to Odysseus and WildWhlExplanation: This modification allows one to retain the load leveling shocks that comes with the CTS-V when installing lowering springs. The principle is to lower the upper mount 1”, which allows the car to sit properly on 1” lowering springs. This retains the FULL travel of the shocks, and the bump stops, preventing damage to the Nivomats when potentially bottoming out. The alternative is to downgrade to non-load leveling CTS shocks, which have a much lower damping rate than the FE4 or FG2s. Disclaimer: Make sure you check the torque of all bolts, especially the lower shock bolt, when you reinstall these in the car.NOTE: FE3 Nivomats on the CTS Lux Sport package have the upper plastic tube, spacer, and top pillow mount integral as one piece. I haven’t yet looked into modifying these, but if you have FE4 (CTS-V) shock parts (top pillow mount and plastic upper tube), they are interchangeable with the CTS parts. You simply disassemble both sets, and transfer the V parts to the FE3 shock with the spacers shown below. Preliminary:To lower a CTS-V Nivomat self-leveling shock, one must lower the upper mount by a similar amount of drop that the springs will give. Otherwise the self-leveling mechanism in the shocks will pump up, raising the rear back to their designed as the ride height. This retains the stock Nivomat travel, since the top of the shock now sits 1” higher in the car. Step by Step: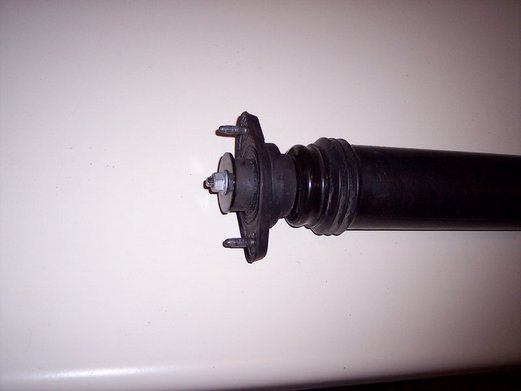 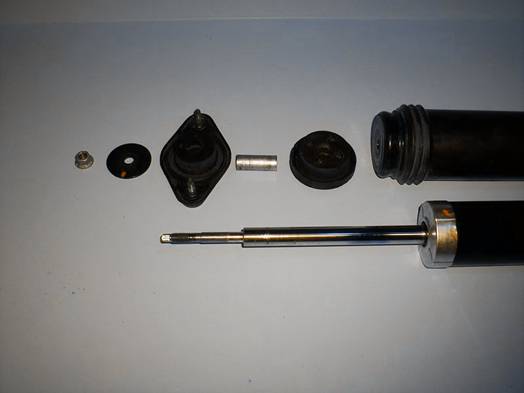 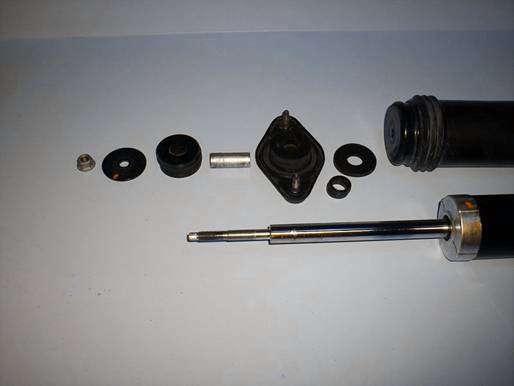  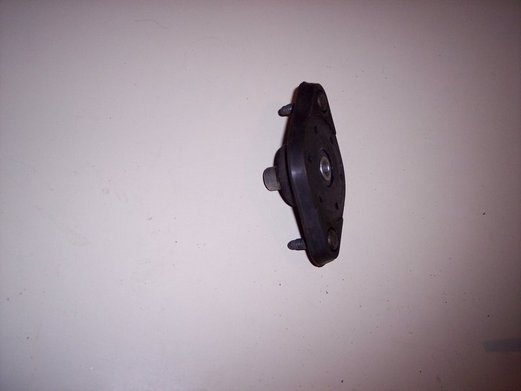 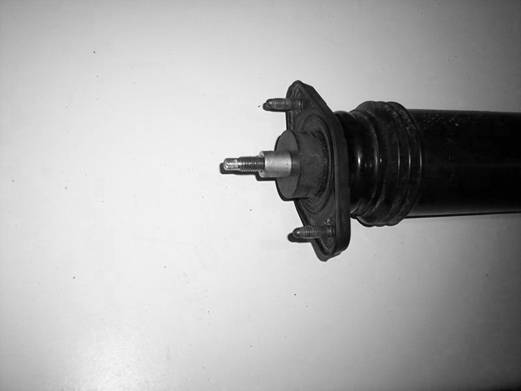 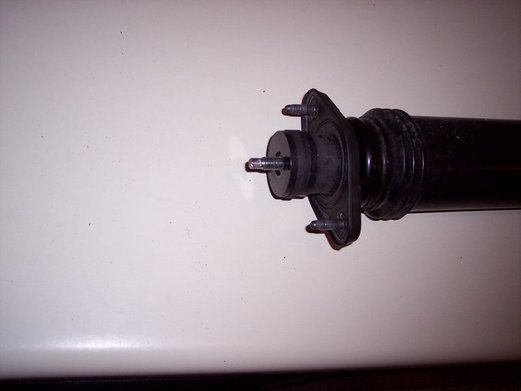 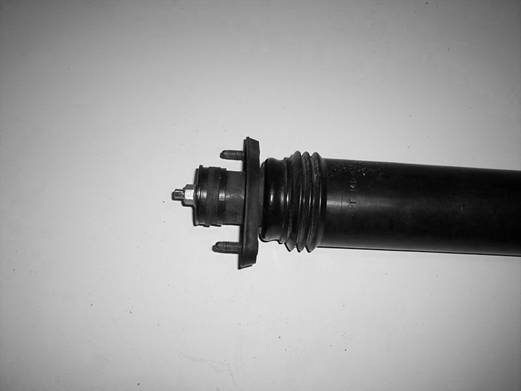 Spacer Dimensions for a ~1" drop:Install Time: Approx. 15 minutes for the actual mod and 2 hours to remove/reinstall the rear seat and shocks. Approx. Cost:You can make your own spacers with fender washers or Polyurethane spacers with the dimensions given above. Alternatively, you can email WildWhl with a request a set of his custom cut spacers. In the past, he has cut the spacers and distributed them for free to members, with the caveat being to donate to CadillacFAQ.com and CadillacForums.com to keep these valuable sources of free flowing information. There may be several other sources of these spacers, since they are relatively easy to manufacture or fabricate. Written by Odysseus |