How do I install the Mallet or UUC Short Shifter kit?
NOTE: For the UUC, you DO NOT need to lower the transmission! (ignore steps 13/14/15)
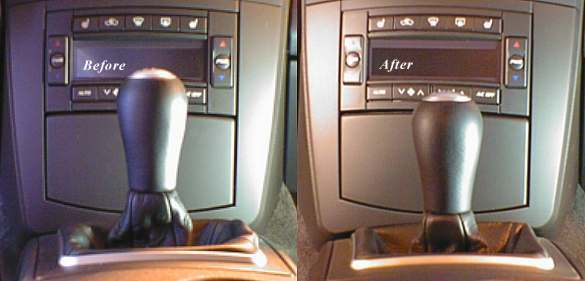
here is the difference (mallet only)
thanks RABID!
~2 Hours without lift
1. Raise vehicle
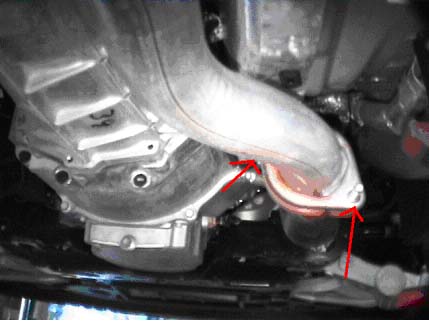
2. Remove four nuts on exhaust mounting flanges right after the cats. (Fig. 1a & 1b)
Fig 1a
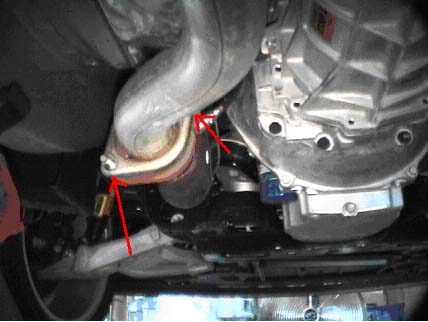
Fig 1b
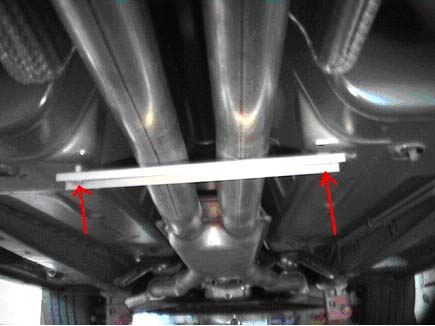
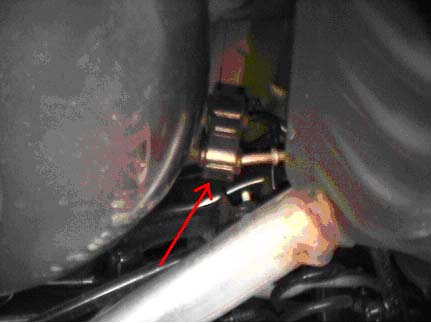
3. Remove bolts holding up exhaust safety bracket. (Fig. 2)
Fig 2
4. Slip off rubber exhaust hangers from mufflers. (Fig. 3 & Fig. 4)
Fig 3
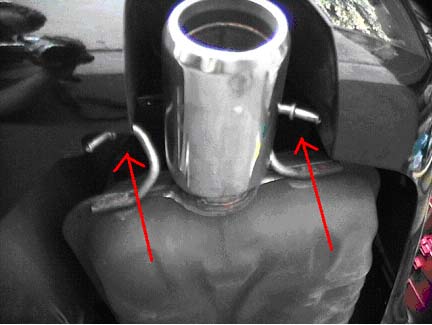
Fig 4
5. Carefully remove exhaust.
6. Unbolt the driveshaft from the rear of the transmission by removing the three bolts, holding the nuts with a wrench. (Fig.5)
Fig 5
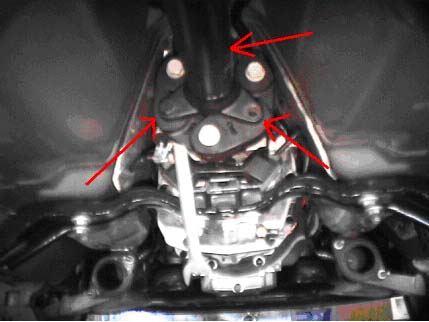
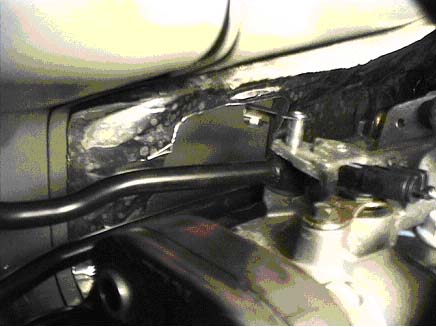
7. Take out two small bolts holding the shield covering the driveshaft bracket. (Fig. 6)
Fig 2
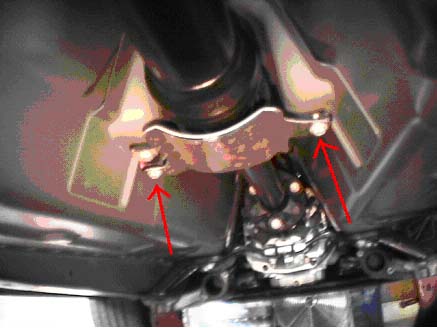
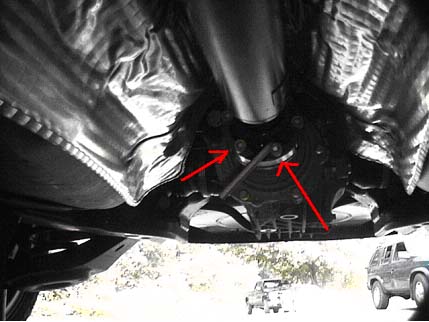
8. Take out two bolts connecting the driveshaft bracket to the bottom of the vehicle. (Fig. 7)
Fig 7
9. The front of the driveshaft can hang down. (Fig. 8) Be careful not to let the driveshaft hang unsupported. The weight of the driveshaft might damage the two driveshaft joints. I used the floor to support the weight. If you like, you may remove the entire driveshaft by taking out the six allen-head bolt connecting the driveshaft to the differential. (Fig. 9)
Fig 8
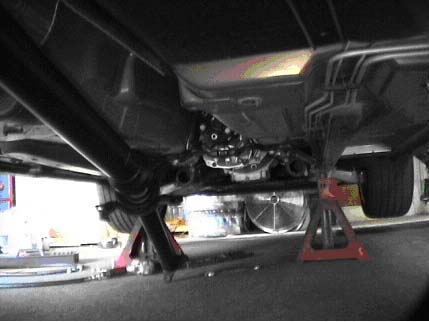
Fig 9
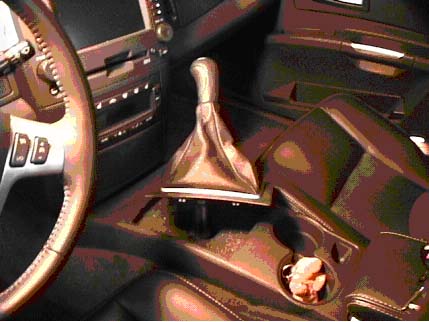
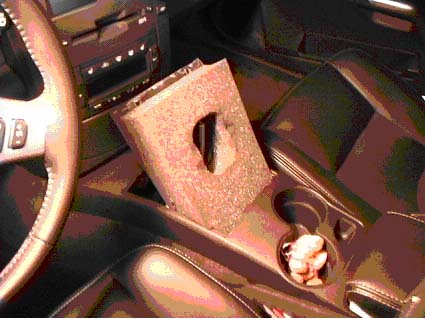
10. Inside the vehicle, put the shifter into reverse and while pushing toward the front of the vehicle, pull up on the knob to disengage the knob from the shift-arm. Pry up the rear of the shifter-boot plate and remove the boot and knob. (Fig. 10)
Fig 10
11. Pull out the insulating foam. (Fig. 11)
Fig 11
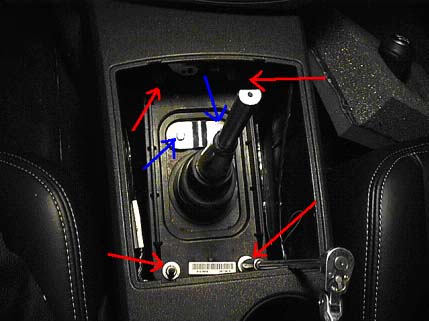
12. Remove the four nuts (shown in red) and the two bolts (shown in blue) from the shifter mounting plate. (Fig. 12)
Fig 12
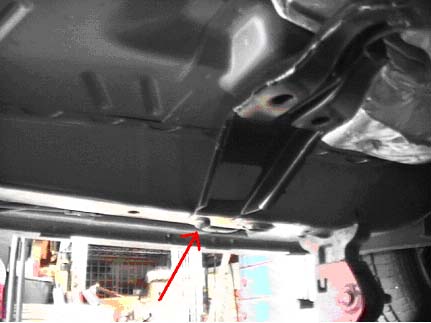
13. Take off the transmission mounting bracket by removing the four bracket-to-car bolts (shown in red) and the two bracket-to-transmission nuts (shown in blue). (Fig. 14) Also, remove the two torx bolts. (Fig. 15)
Fig 14
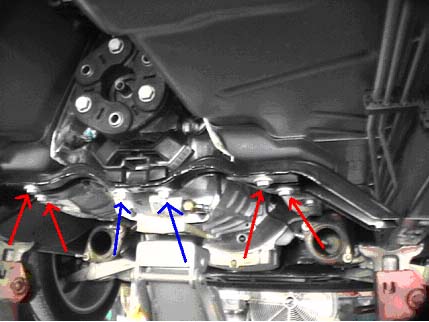
Fig 15
14. VERY CAREFULLY, lower the transmission while someone watches the engine in the engine compartment. As the transmission lowers, the engine will tilt up to where the engine shroud will eventually come into contact with the strut bar. Also, the engine oil pan will come very close to contacting the front cross member. Don’t lower the transmission too far. This is to gain access to the top of the transmission where the shifter is located.
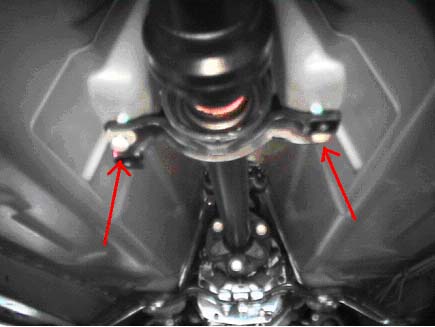
15. This part takes the longest. There are two pins holding the outside arms of the shift-linkage to the transmission. (Fig. 16) The pins are removed by first rotating them forward and unclipping the clasp. The pins slide out. (Fig. 17) It is difficult to remove the driver’s side pin because of the tight space.
Fig 16
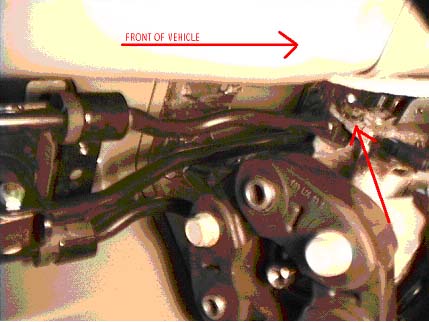
Fig 17
16. Finally, remove the C-Clip that keeps the center shift rod arm attached to the transmission. The shifter assembly can be removed.
17. Installation is reversed.
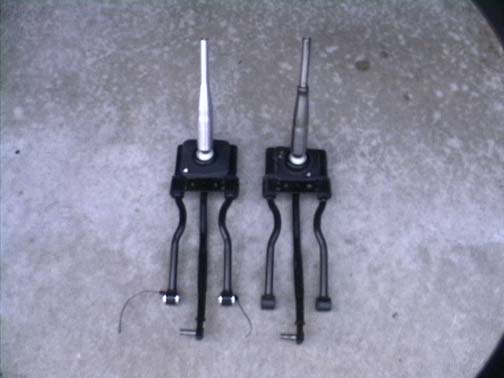
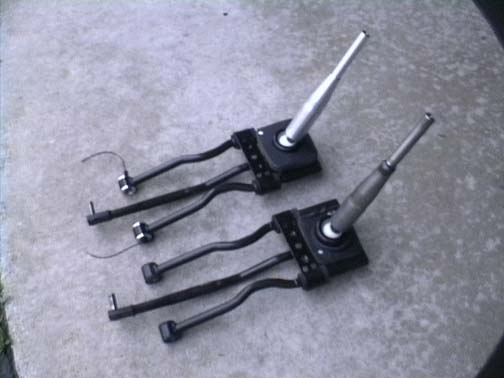
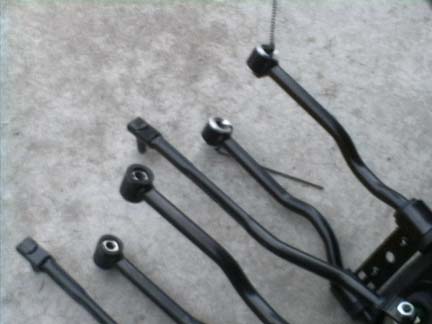
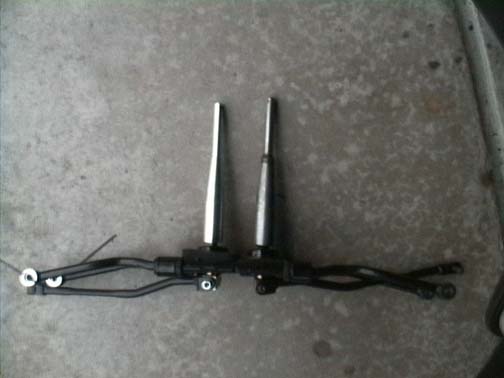
More pictures of the raw parts

|

