
|
This information is provided as guidance Only. Use this information at your own risk! This site is not affiliated with General Motors or Cadillac. All trademarks are property of their respective owners. |
 |
|
This information is provided as guidance Only. Use this information at your own risk! This site is not affiliated with General Motors or Cadillac. All trademarks are property of their respective owners. |
|
How do I Change a 3" Race X-Pipe Cat-Back To a Touring Resonator Style for the CTS-V?B&B Performance Exhaust® 31August2004 StealthVFor video of this exhaust, please see the VIDEO LIBRARY Use this as a pictorial reference only; always refer to the official B&B instructions for more detail or clarification. For more information, please visit B&B Performance Exhaust Installation time: Approximately two leisurely hours with one person. -1 set of jack stands (or second set of Rhino ramps) -Hydraulic floor jack -Trouble light -1-pound hammer -Rubber mallet -11/16ö wrench -17 mm wrench -16 mm wrench -Įö drive ratchet -Įö extension -Įö drive, 16 mm socket -3/8ö ratchet -3/8ö extension -3/8" drive, 13 mm socket -3/8" drive, 15 mm socket -3/8" drive, 16 mm socket -Pry bar -Drift punch -12 pack of Dew ;-) -scrap wood 2x4s -Zaino Z6 (or equivalent for clean up prior to engine start) -Microfiber towel 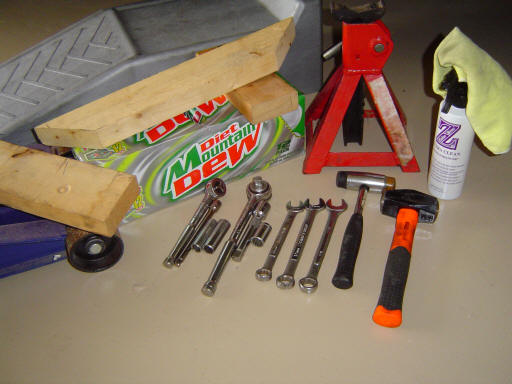 The text explanation is coming in a week - in the mean time, here's the pictures! =) 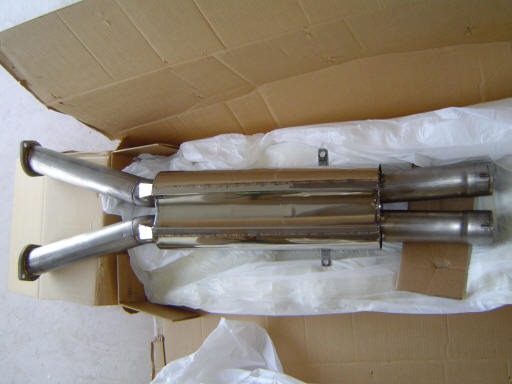 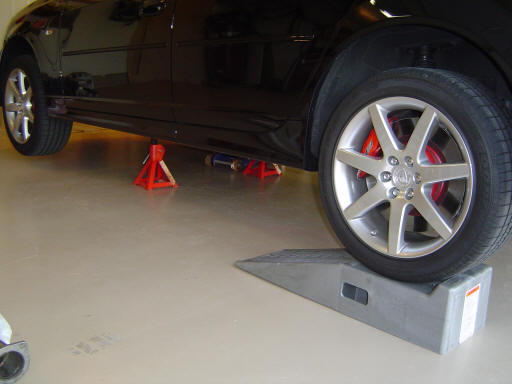 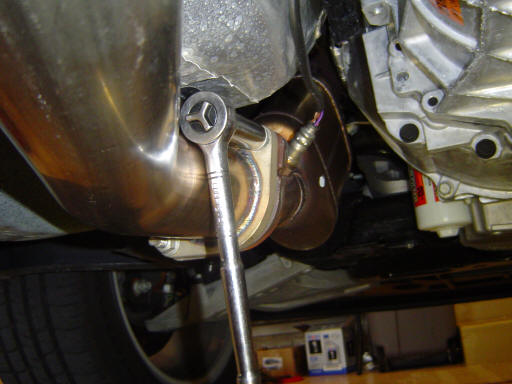 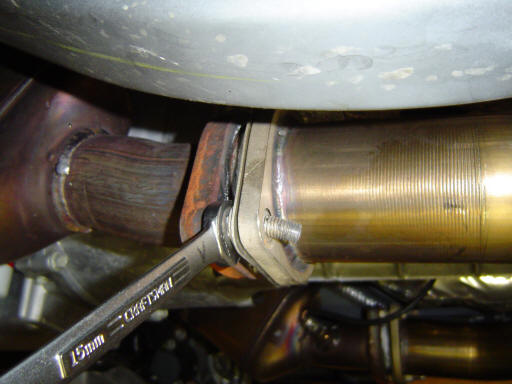 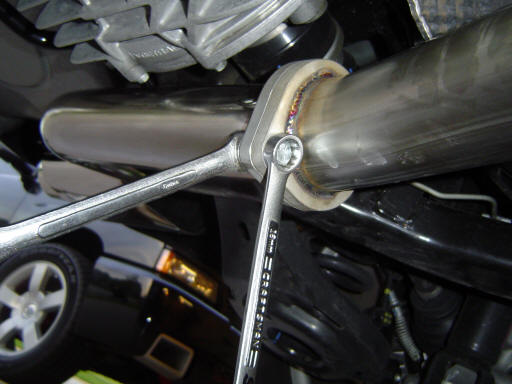  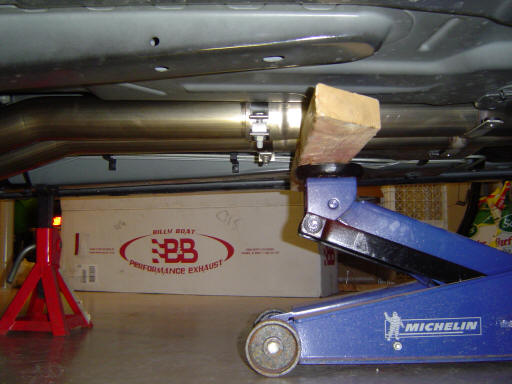  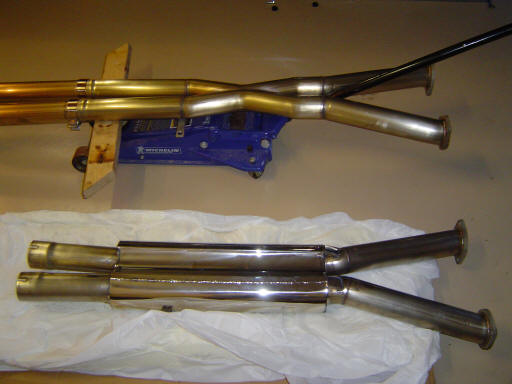 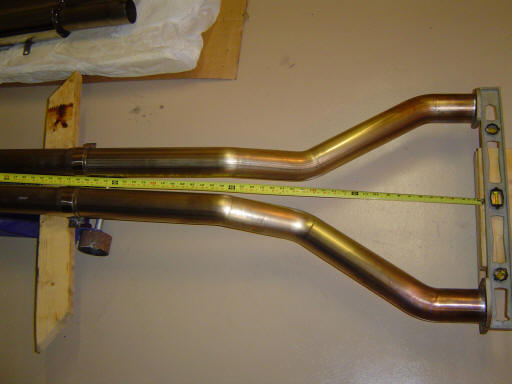 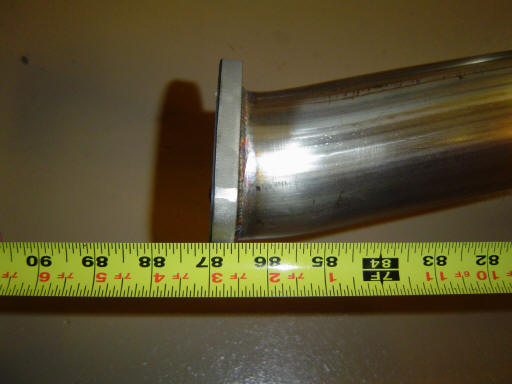 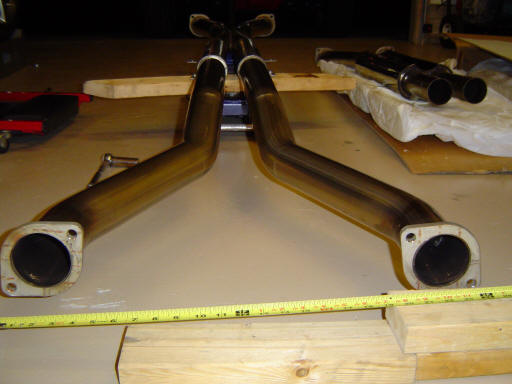 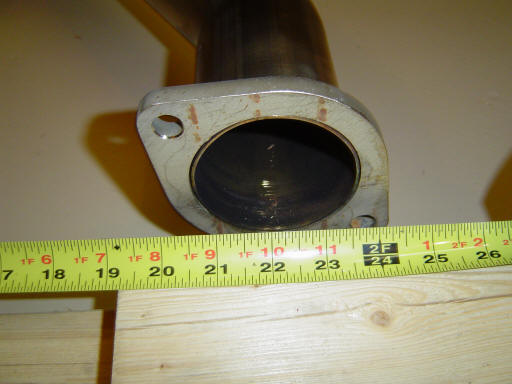 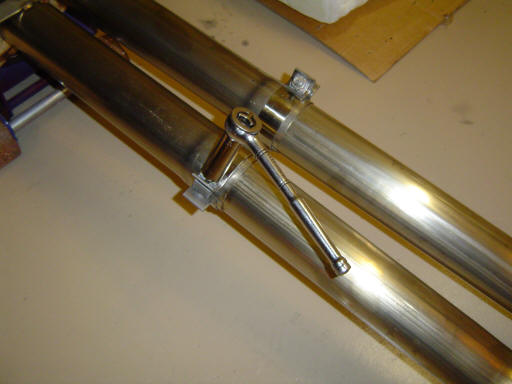 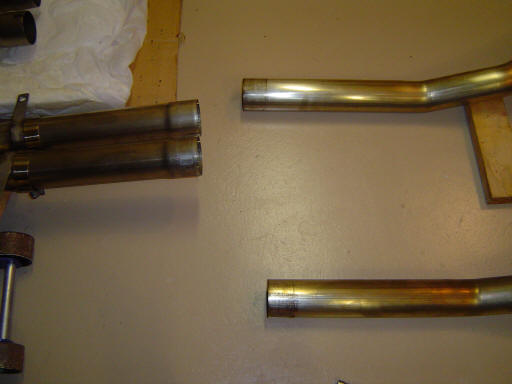 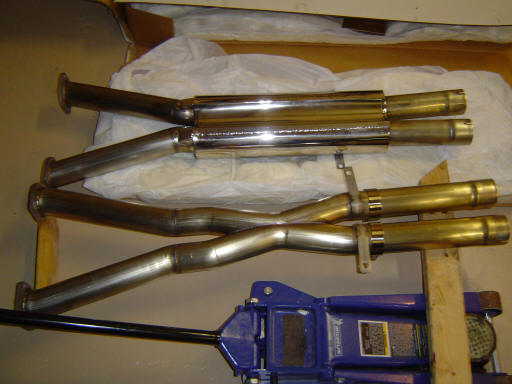 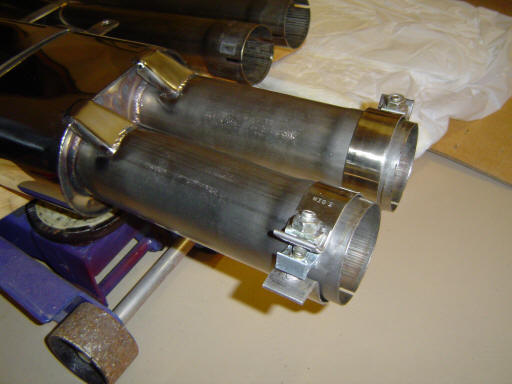 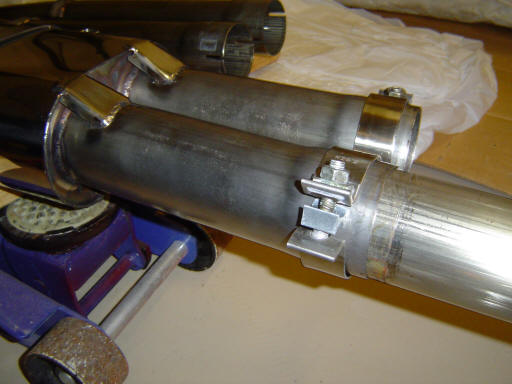 Using a 5/16" x 2" bolt as a temporary stud... 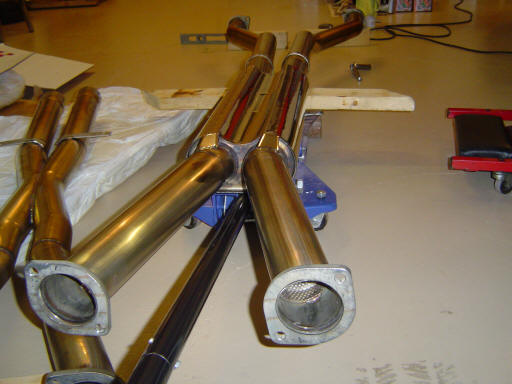 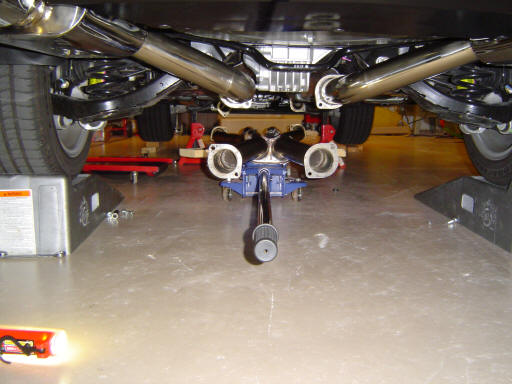 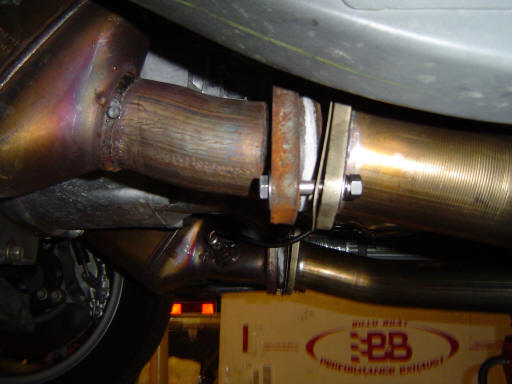 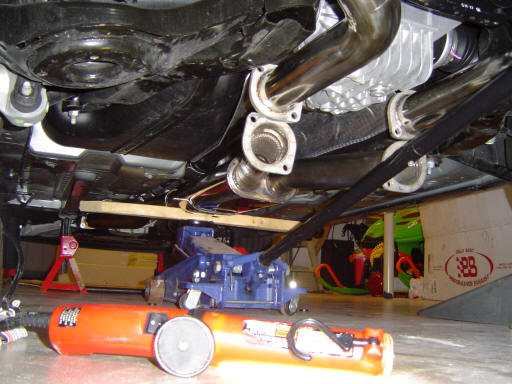   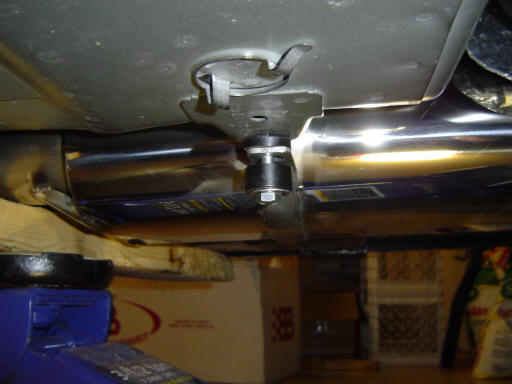 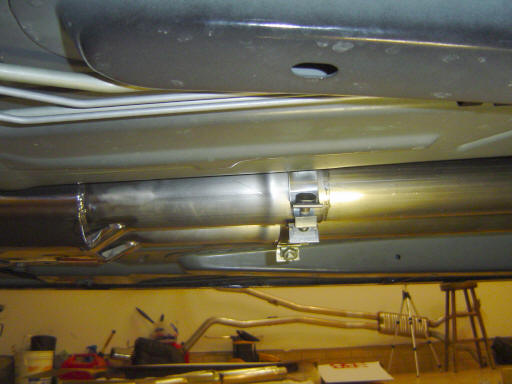 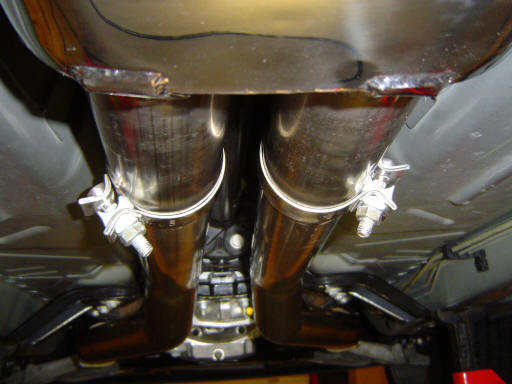 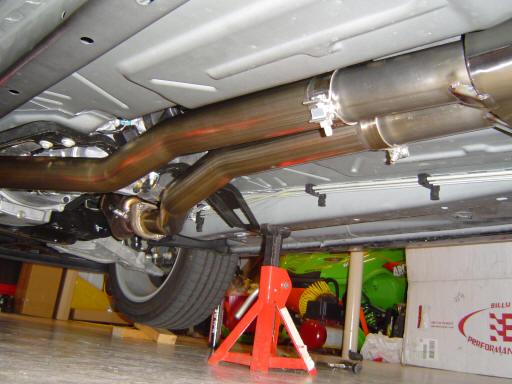 Before starting the engine, wipe down all surfaces of the exhaust ¢ mufflers, tips, pipes to prevent blemishes and fingerprints from being burned in,discoloring the surface of the stainless. For mine, I used a microfiber towel and Zaino Z6. First impressions - much more subdued than the x-pipe. Curious to see how much different a few hundred miles and heat cycles make on the sound. Perhaps not much different due to my mufflers already being "broke-in." My wife will be driving the V all day on Wednesday, we'll see if it meets her approval or if I need to install the stock exhaust Wednesday night. If it must meet wife approval - resonator (maybe, crossed-fingers) |