|
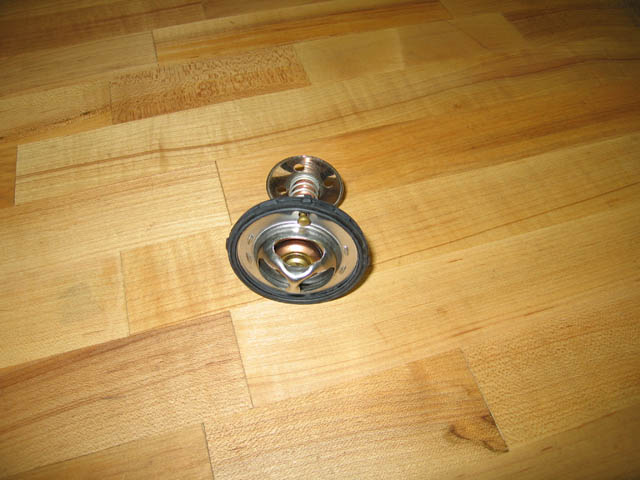
1. Purchase low temp thermostat. Please keep in mind the CTS-V uses the 04-05 GTO 4th gen style thermostat. Regardless of the brand (SLP, Hypertech, JEGS, etc) they are all made by MOTORAD in NY. Even the stock thermostat is made by them, so the quality is good. I chose to go with a SLP unit that was about $27.00. The unit was a 160F version since it rarely gets cold here in SoCal. If you live back east you might want to get either an 180F version for year round use or just swap back to the OEM thermostat (195F) in the harsh winter months.
|

|
|
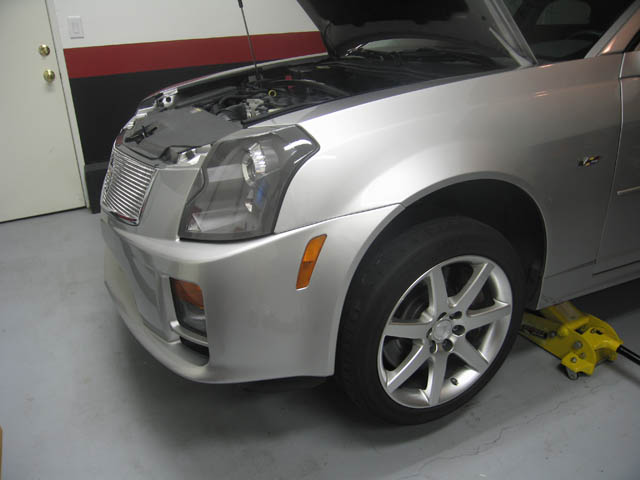
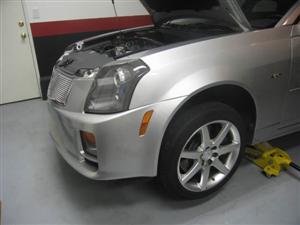
2. With a cool engine raise the vehicle’s front end and support it on jack stands.
|
|
|
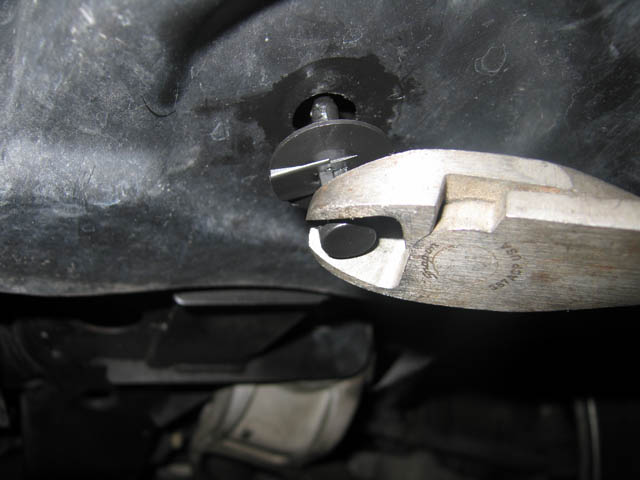
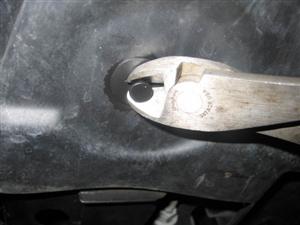
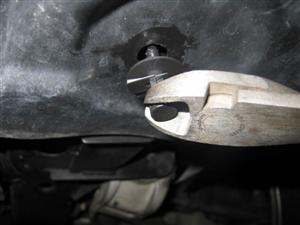
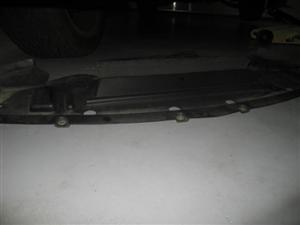
3. Remove the lower plastic air dam tray under the car. There are 15 pop rivets that will need to be removed. My favorite removal tool is just a pair of wire cutters since you can grip the head of the plastic rivet from an angle and pull.
|
|
|
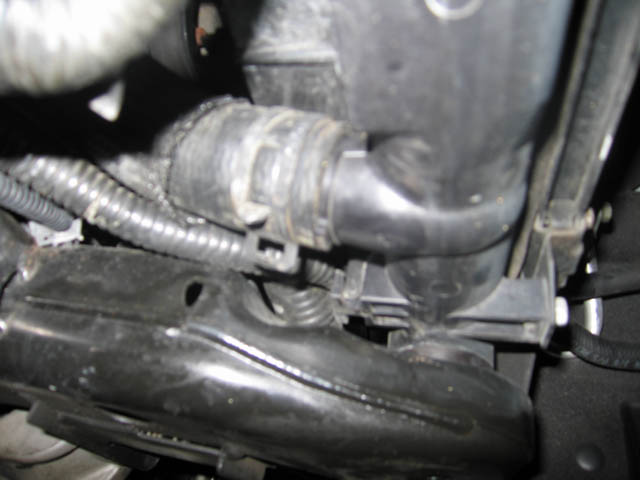
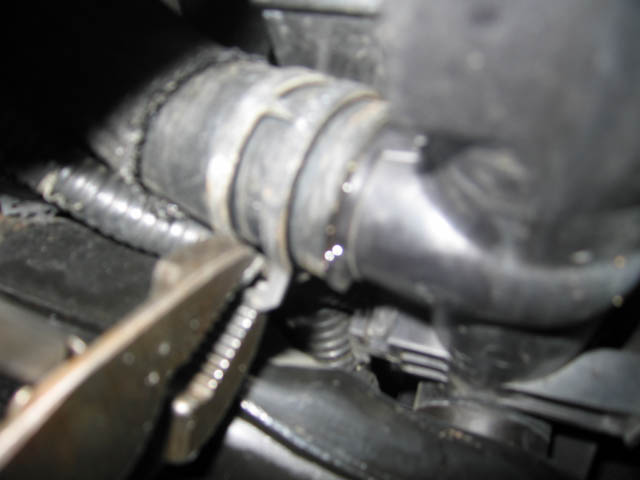
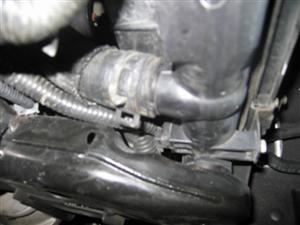
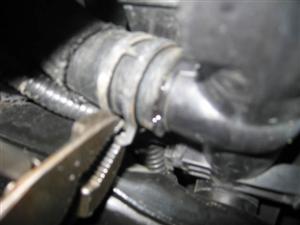
4. From there remove the OEM spring style clamp from the lower radiator hose with a set of pliers. It’s best to compress the clamp and slide it back far enough to allow hose removal.
|
|
|
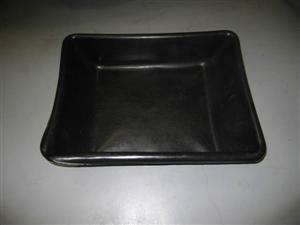
5. Find appropriate catch basin to retain the radiator fluid and place it underneath.
|
|
|
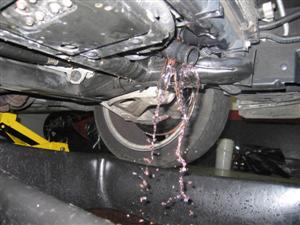
6. With the basin in place remove the radiator hose by pulling back towards the rear of the vehicle. Fluid will come out from both the radiator and the hose so make sure you stay clear. Do not remove the cap from the surge tank. By keeping the cap on it pulls more coolant out of the system through a vacuum.
|
|
|
7. When it has stopped draining fluid replace the hose back on the radiator and position the OEM spring clamp in the exact same position it was on the hose. You will see indentations on the hose exactly where it was resting.
|
|
|
8. Position the catch basin already filled with fluid under the thermostat area of the vehicle (front right).
|
No Picture
|
|
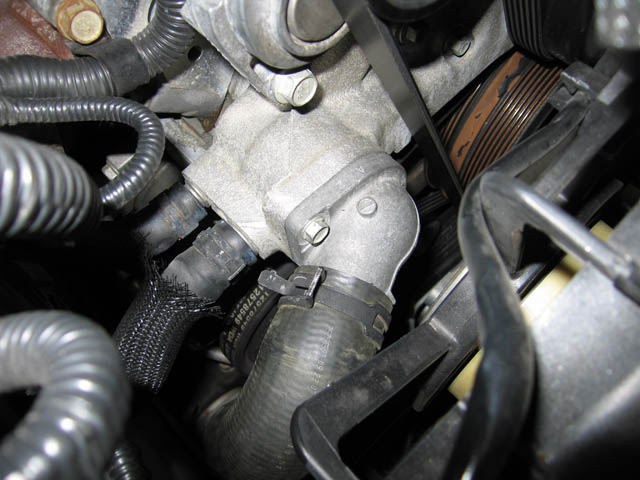
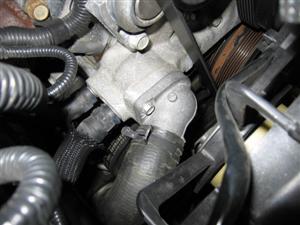
9. Remove the OEM spring clamp from the radiator hose on the thermostat housing in the same manner as the lower hose. Then remove the hose and allow for fluid to drain, if any. Position the radiator hose out of the way underneath the two smaller rubber hoses coming out of the thermostat housing.
|

|
|
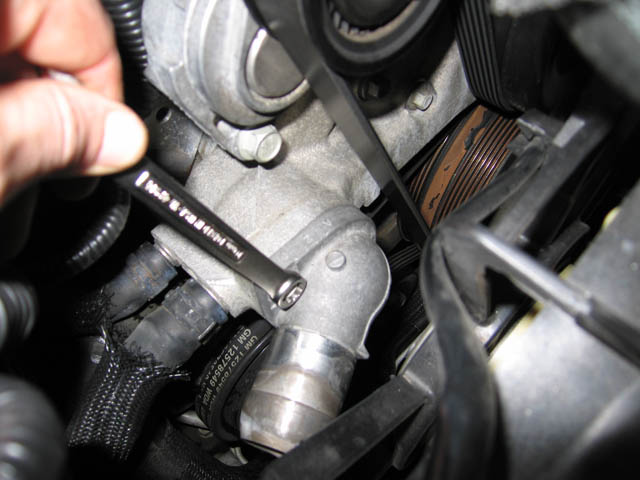
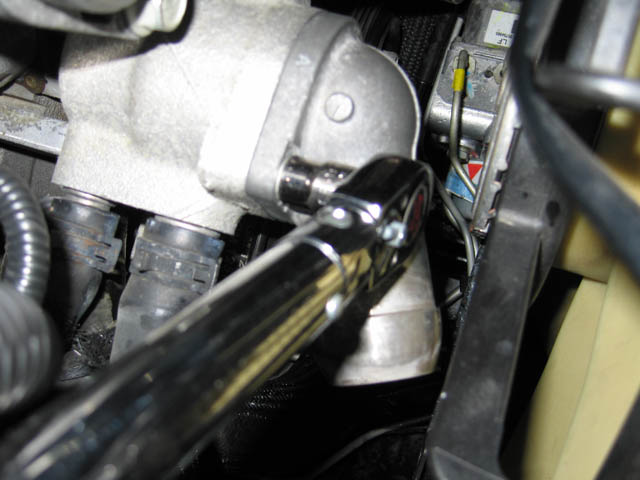
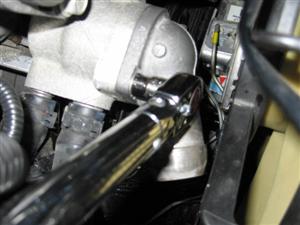
10. Remove the two bolts holding the thermostat housing on the engine with a 10mm wrench or socket. My hands where skinny enough that a wrench worked best for me. There is a slight spring tension on the housing from the thermostat. While removing the bolts you will have coolant pouring out into the catch basin.
|

|
|
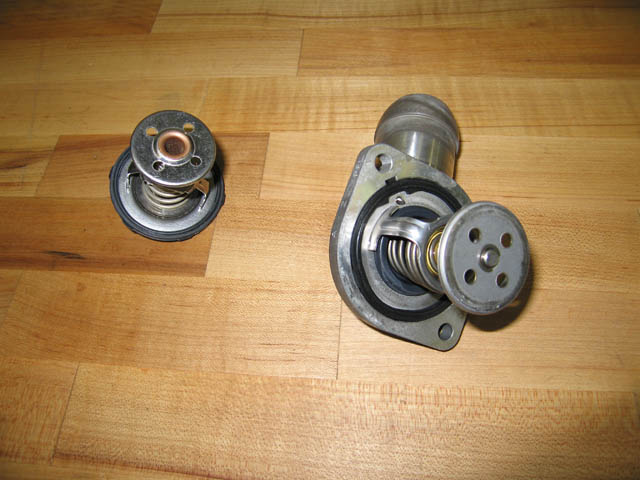
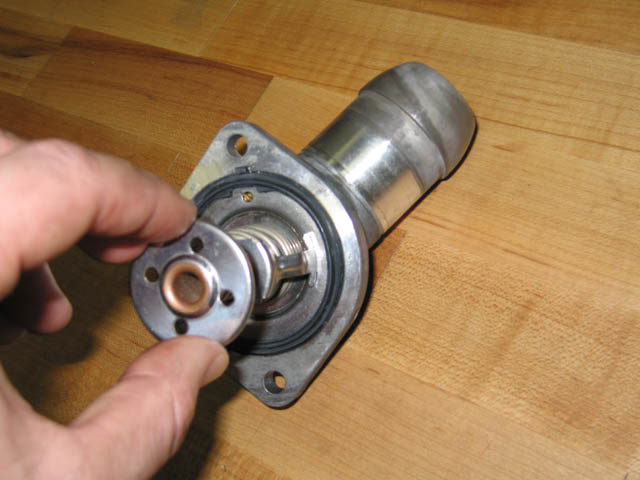
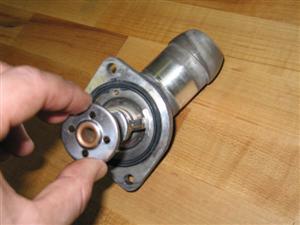
11. With the bolts removed pull the thermostat housing out. Remove the OEM thermostat and replace it with the new one. There is a rubber alignment tab on the gasket that fits into an indentation on the thermostat housing. Make sure it’s properly fitted.
|

|
|
12. Re-install thermostat into the engine. Torque the two 10mm bolts to the OEM spec of 14ft lbs.
|
|
|
13. Re-install the radiator hose onto the thermostat housing.
|
No picture
|
|
14. Re-install lower plastic air dam tray under the car.
|
No picture
|
|
15. Remove surge tank cap. You will find some sediment in your coolant that as removed. If you plan on re-using this fluid I recommend running it through a coffee filter before filling the surge tank back up. Fill the surge tank as high as possible the first time. After starting the engine and idling it for about 15 seconds turn it off. Fill the surge tank again but this time to it’s suggested “engine cold” line. Again start the engine and idle it for a minute. Add any fluid as necessary.
|
No picture
|
|
16. Remove the vehicle from the jack stands and take it around the block. When you return pop the hood and let the vehicle cool off. I left the hood up as a reminder to check the fluid level in the morning. After it’s completely cool check the fluid level once more in the surge tank. You may or may not notice it needs fluid. If it does add some.
|
No picture
|
On an average day with 80F temps outside the OEM thermostat would allow the coolant temperature to stabilize at 195F at freeway speeds. The 160F thermostat now allows a stable temperature of 175F under the same conditions.
If you have access to adjust your fan turn on temps I would recommend the following settings for a 160F or 180F thermostat.
These settings only affect the vehicle if it is traveling slower then 35MPH. Otherwise the fans shut off as the air passing through the radiator from vehicle speed if sufficient enough for proper cooling.