
|
This information is provided as guidance Only. Use this information at your own risk! This site is not affiliated with General Motors or Cadillac. All trademarks are property of their respective owners. |
 |
|
This information is provided as guidance Only. Use this information at your own risk! This site is not affiliated with General Motors or Cadillac. All trademarks are property of their respective owners. |
|
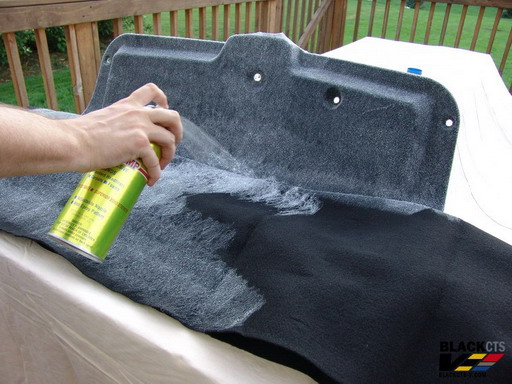
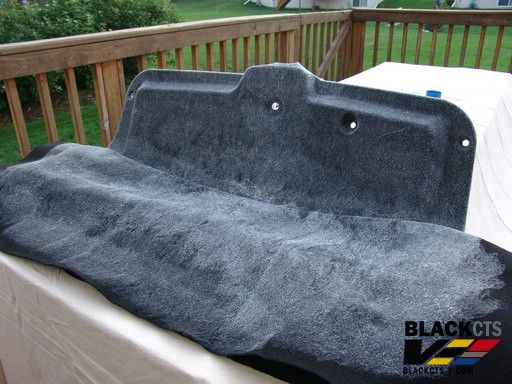
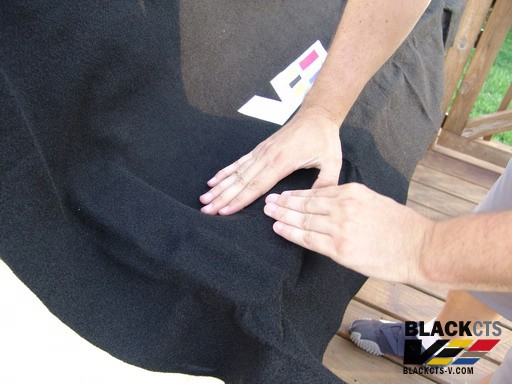
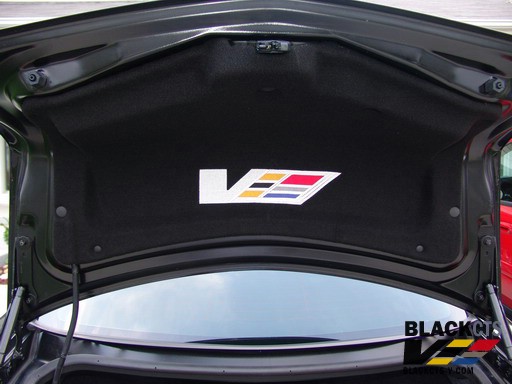
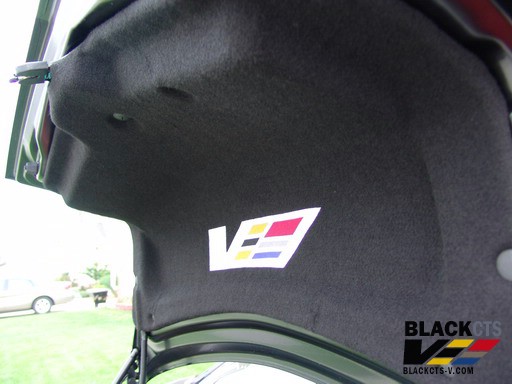
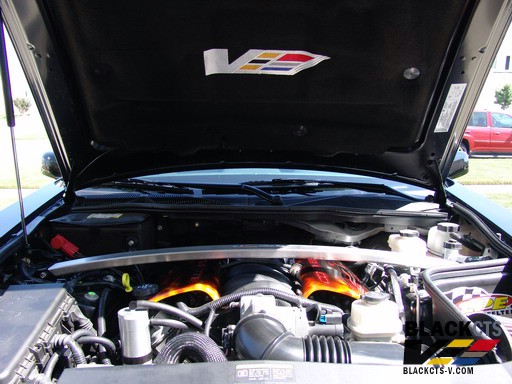
How do I install a trunk liner in the CTS-VThanks to AmesCTS-VClick the images to make them larger 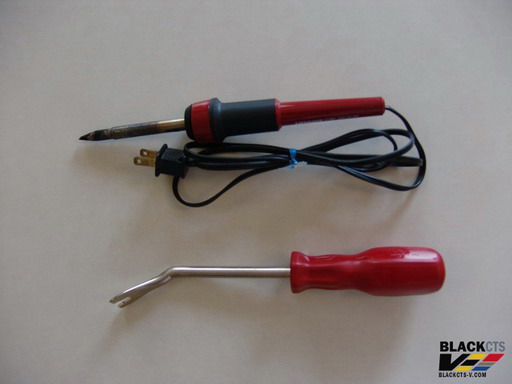

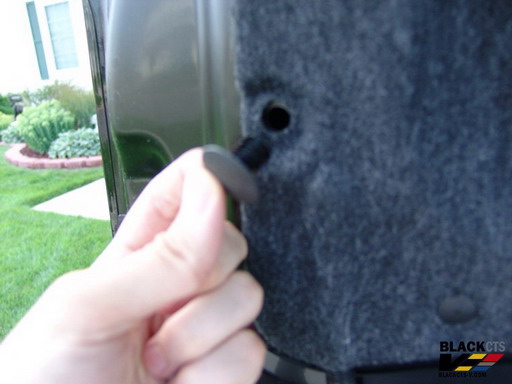
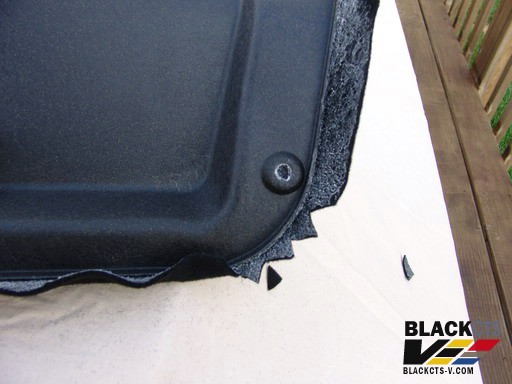
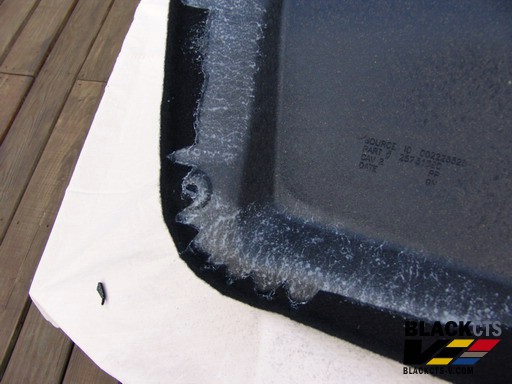
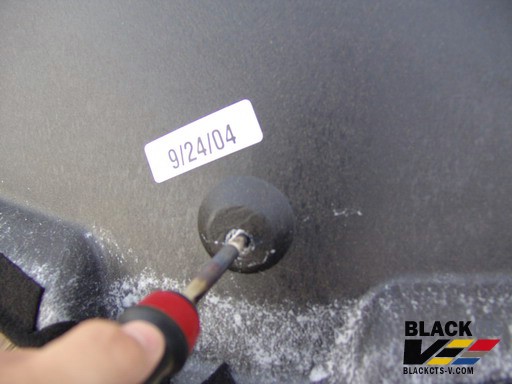
The Installation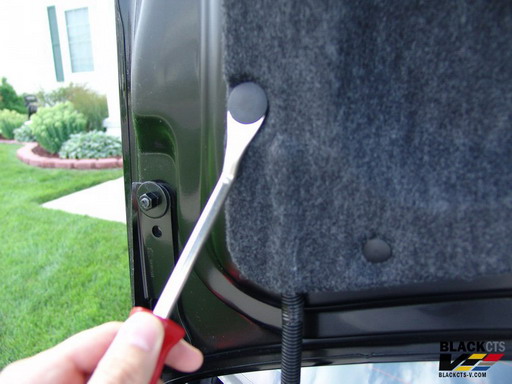

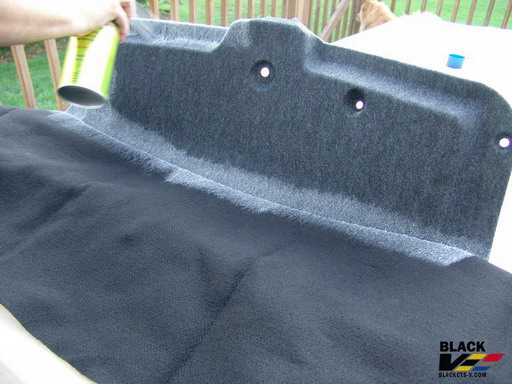
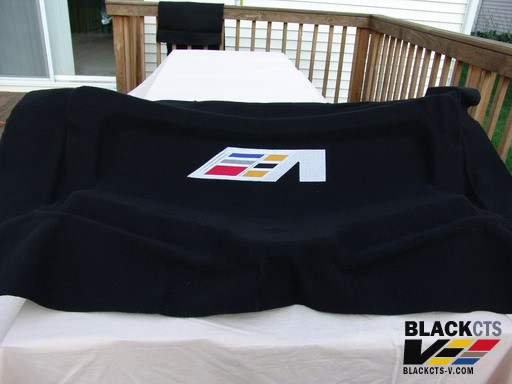


Installed PicsHere are some pictures of the trunk and hood liner after installation.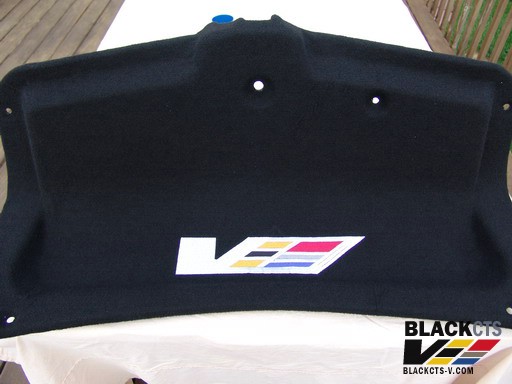
|