
|
This information is provided as guidance Only. Use this information at your own risk! This site is not affiliated with General Motors or Cadillac. All trademarks are property of their respective owners. |
 |
|
This information is provided as guidance Only. Use this information at your own risk! This site is not affiliated with General Motors or Cadillac. All trademarks are property of their respective owners. |
|
|
My Volant Experience (2004 CTS w/ 3.6L): Installation...(Return to Assembly Instructions) This is the installation of the unit. For some steps, I will include one shot with the parts, and a second shot with the parts installed. For the entire assembly and installation, you will need: 1 Measuring Tape 1 Flat-Head Screwdriver 1 Philips Screwdriver 1 Needle Nose Pliers 1 Socket Wrench 1 10mm Socket 1 11mm Socket 1 Utility (Box-Cutter) Knife Enough of your favorite Beverage to last between 30 minutes and 2 hours (depending on DIY skill-level and time spent tinkering). Here we go... Here is the Stock Intake (after you remove the engine cover): 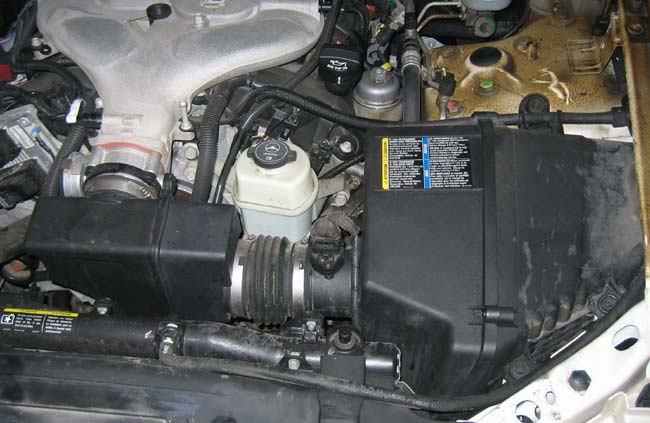 For clarity (and for newbs), here are shots of the Stock Breather Hose, marked by the light blue arrows. You will see where the hose ends and connects to the stock intake, how it lays alongside the engine, and where it starts (circled). 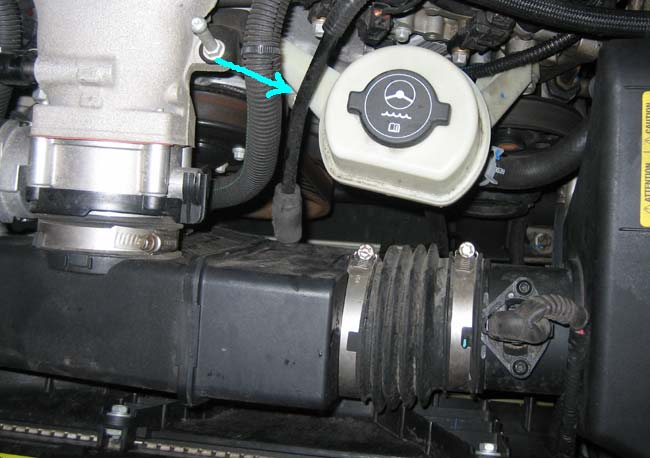 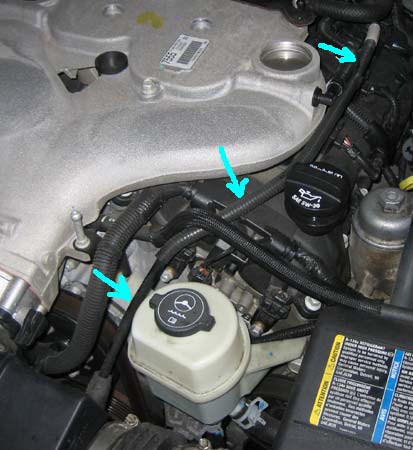 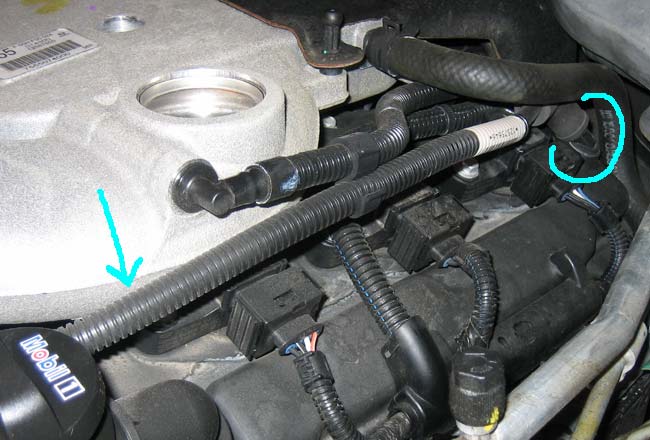 Remove the Intake by loosening the Hose Clamps with a Flat-Head Screwdriver and pulling the piece out. The third picture shows more clearly where the Breather Hose connects to the back of the Intake. 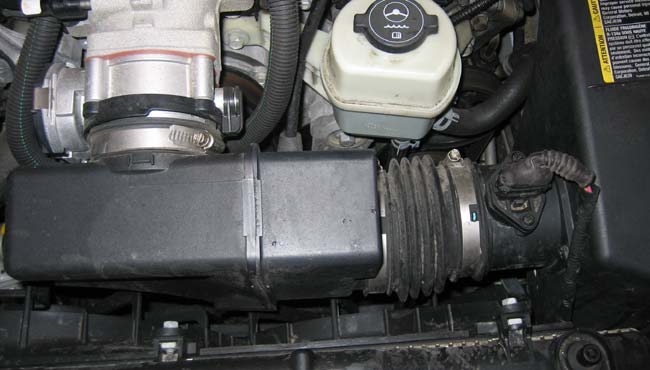 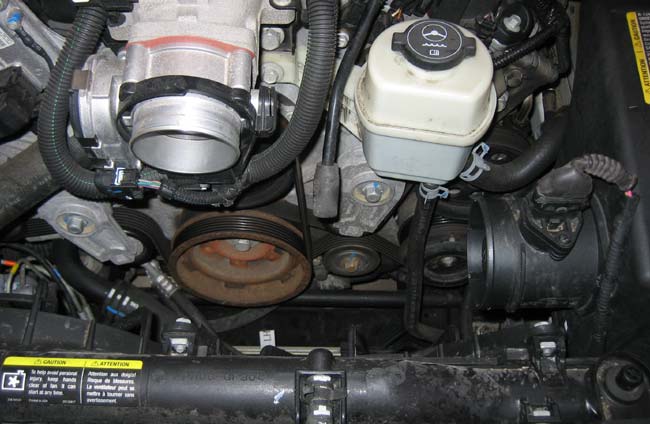 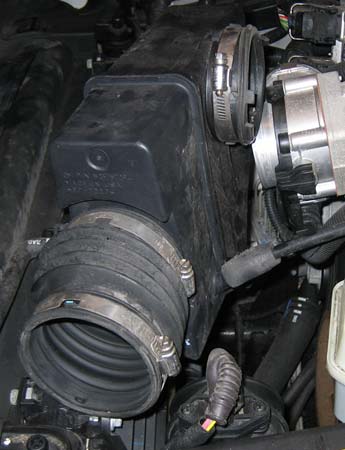 Disconnect the MAF Sensor Cable from the MAF Sensor. Use a 10mm Socket to remove the 3 Airbox bolts, and remove the Airbox/MAF assembly. Then, use a Philips Screwdriver to remove the screws holding the MAF onto the Airbox. 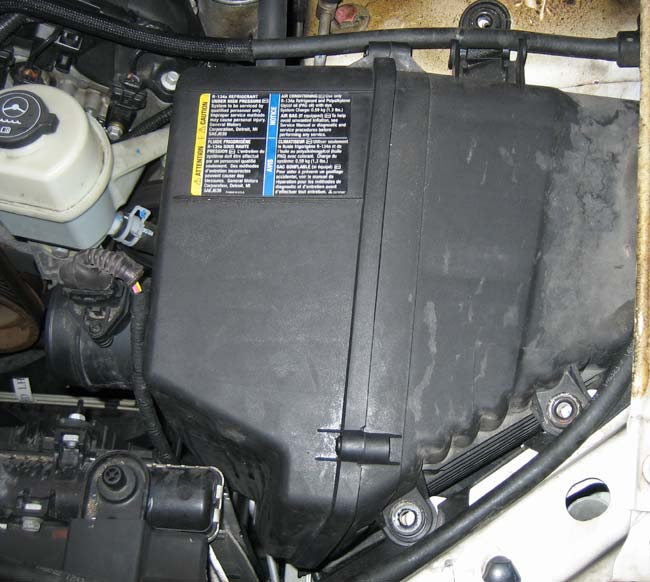 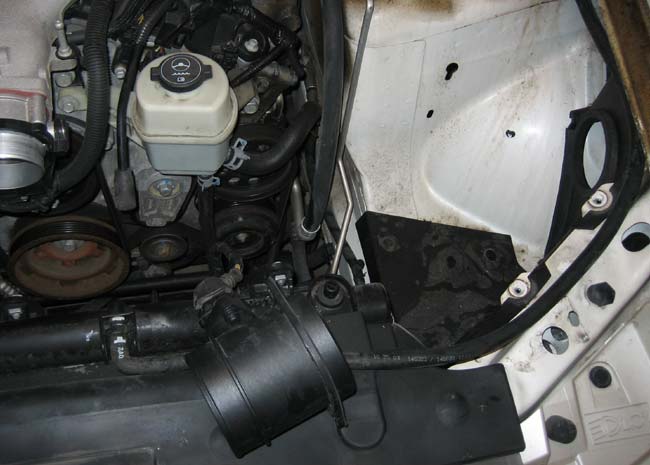 Use Needle Nose Pliers to grip and push the first two plastic pins out of the radiator, to free the plastic radiator flap. The first three pins are marked with light blue dots. Do not detach the 3rd plastic pin. OPTIONAL: Measure down the flap about 6 inches (with your Measuring Tape) and use your utility knife to slice the flap horizontally (left-right, not up-down) from the radiator toward the Airbox bay. This will allow you to fold the flap out of the way of the Airbox Snorkel (sorry, no picture). 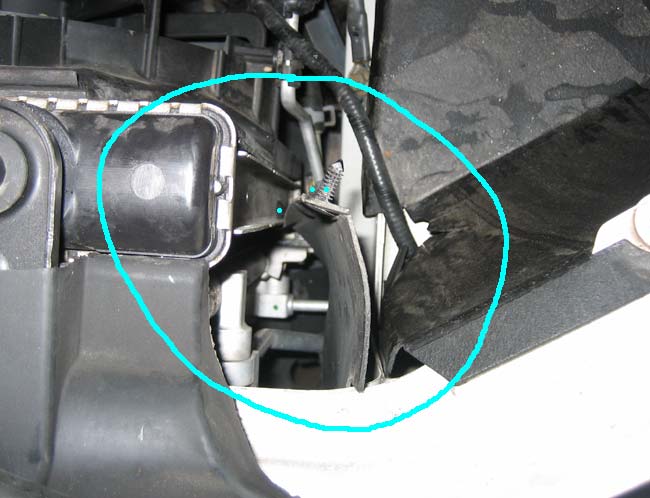 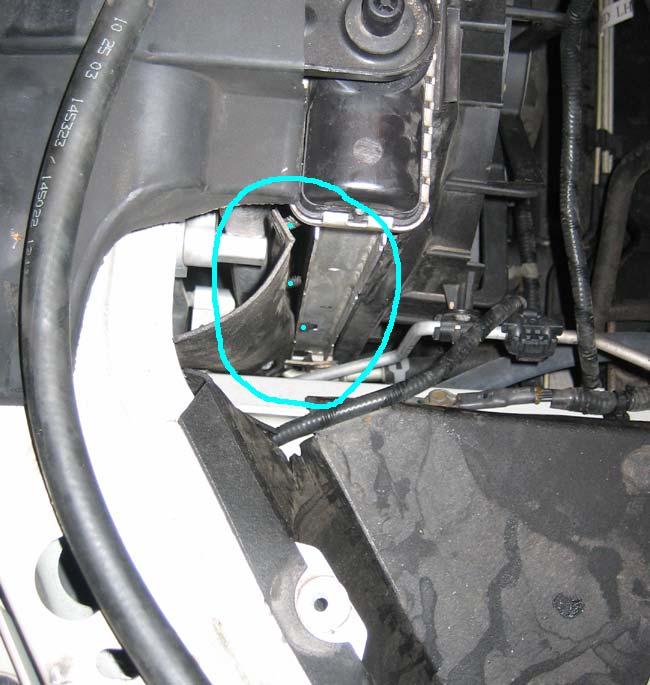 Attach the MAF to the Airbox by putting the new Gasket on the MAF and inserting the MAF into the Airbox. Use an 11mm Socket on the supplied Bolts to secure the MAF to the Airbox and Filter assembly. Note, the Instructions show that you will put a Locking Washer on each Bolt. However, because the Bolts are not long enough, you will probably won't be able to use the Washers. 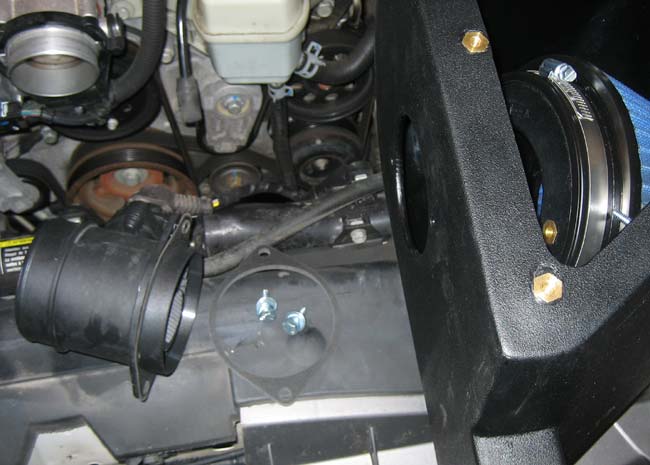 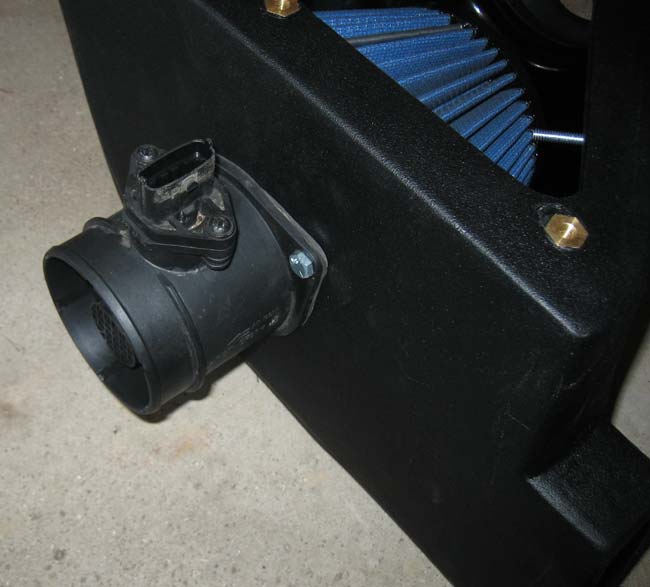 Slide the Hump Hose onto the other end of the MAF and secure it with its Hose Clamp (use a Flat-Head Screwdriver). 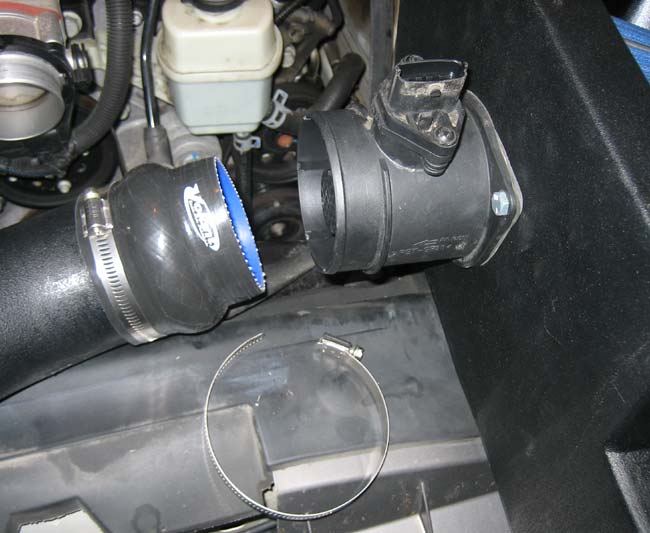 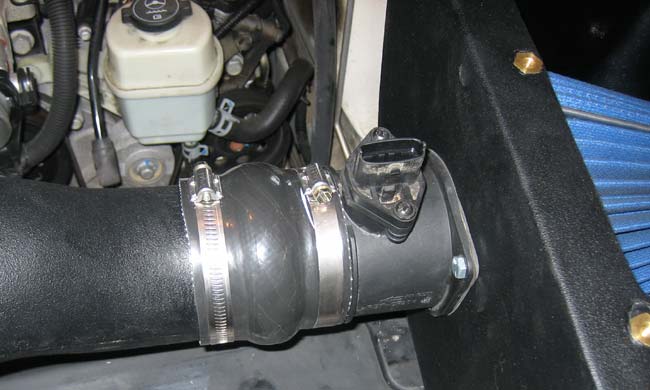 Push the Volant Breather Hose into the Stock Breather Hose's rubber connector. The first two pictures show a longer piece of Volant hose, for clarity. You may also wish to perform this step after the entire Intake is in place. The third picture gives a better view of the final Hose length and installation. 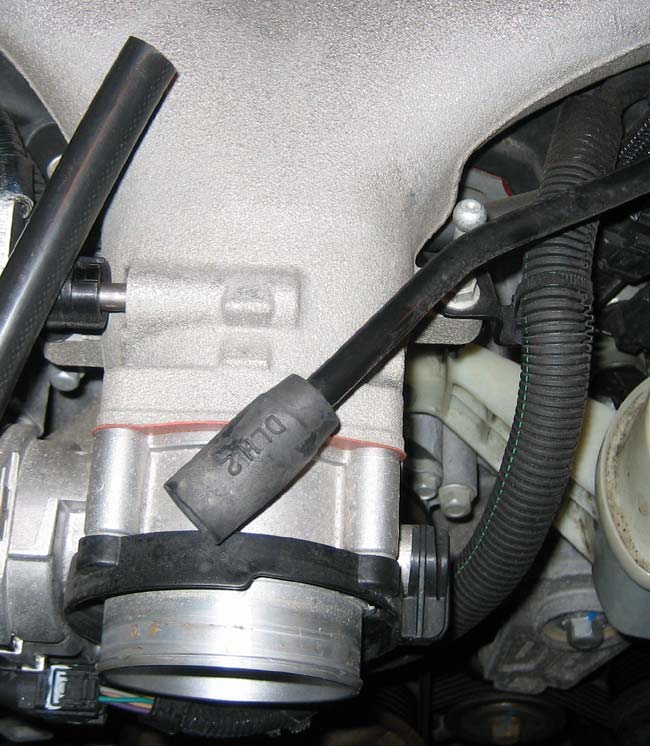 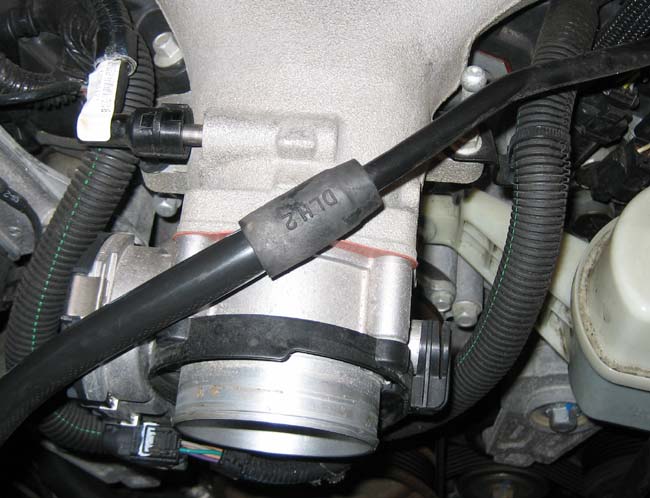 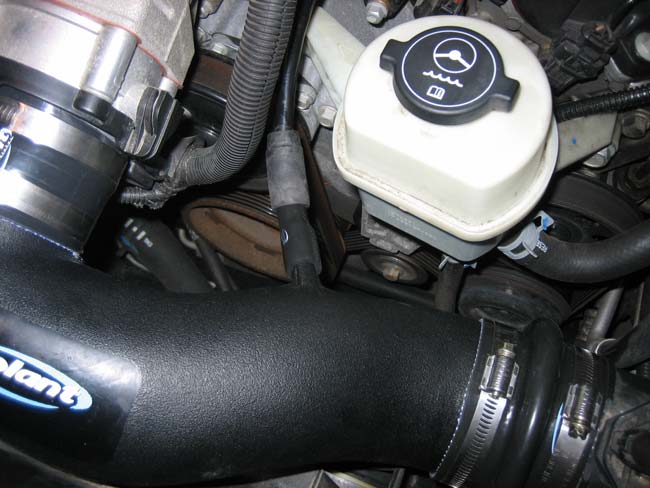 Starting with the Airbox end first, insert the Intake assembly into the engine bay. This may take some wrangling. Remember to keep the radiator flap folded back to make way for the Airbox Snorkel (see the folded flap in the second picture). Also, make sure that the engine bay's foam rubber ring around the wheel well inlet is entirely inside the wheel well inlet on the Airbox. Reconnect the MAF Cable to the MAF assembly. Then, slip the other end of the Rubber Sleeve over the Intake Manifold's Inlet. Secure it with a Hose Clamp (Flat-Head Screwdriver). This can be difficult, and some wrangling and twisting of the sleeve may help. Removing or Loosening the other Hose Clamp (on that Sleeve) may also help in this process. 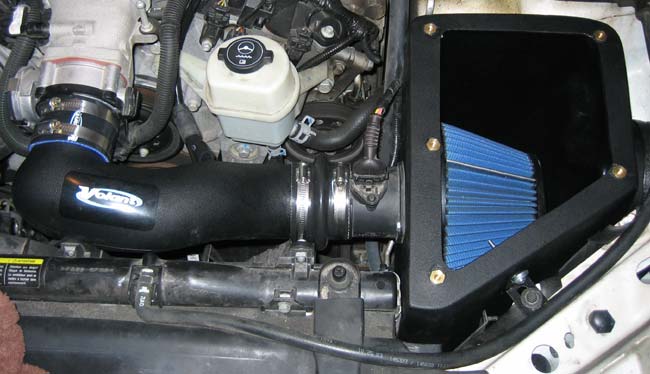 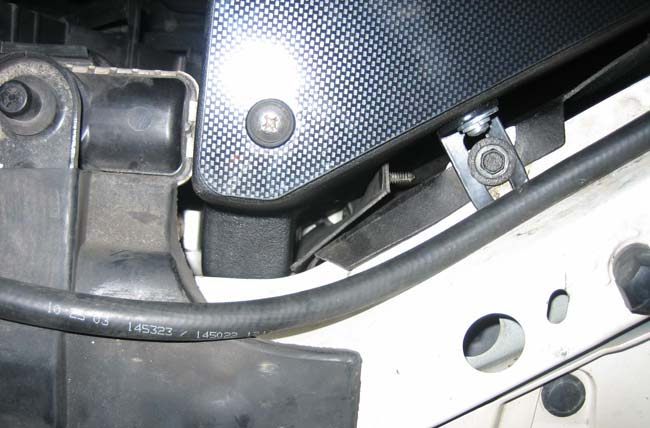 Use a Philips Screwdriver and the supplied Screws and Rubber Washers to attach the Lid to the Airbox. 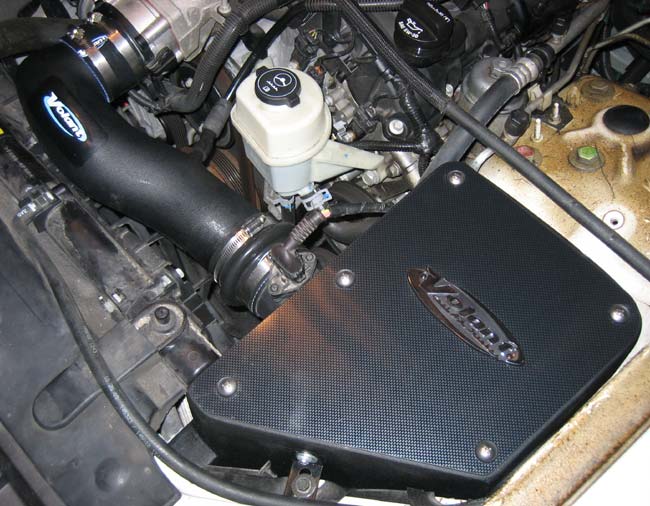 Put the engine cover back on, and you're ready to roll! 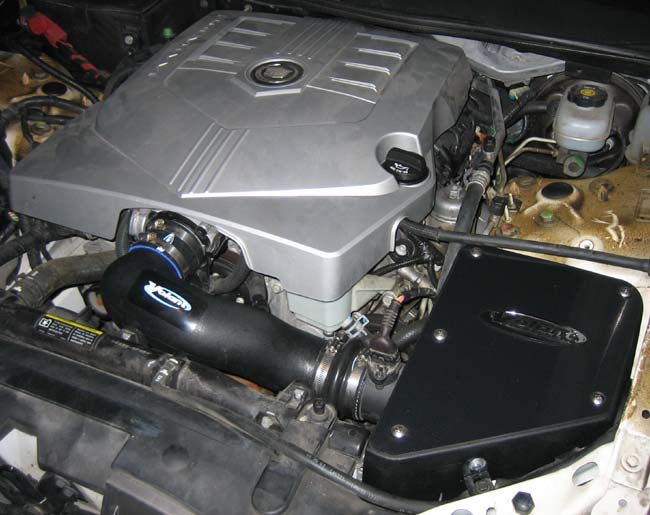 Voila! (Return to Assembly Instructions) |